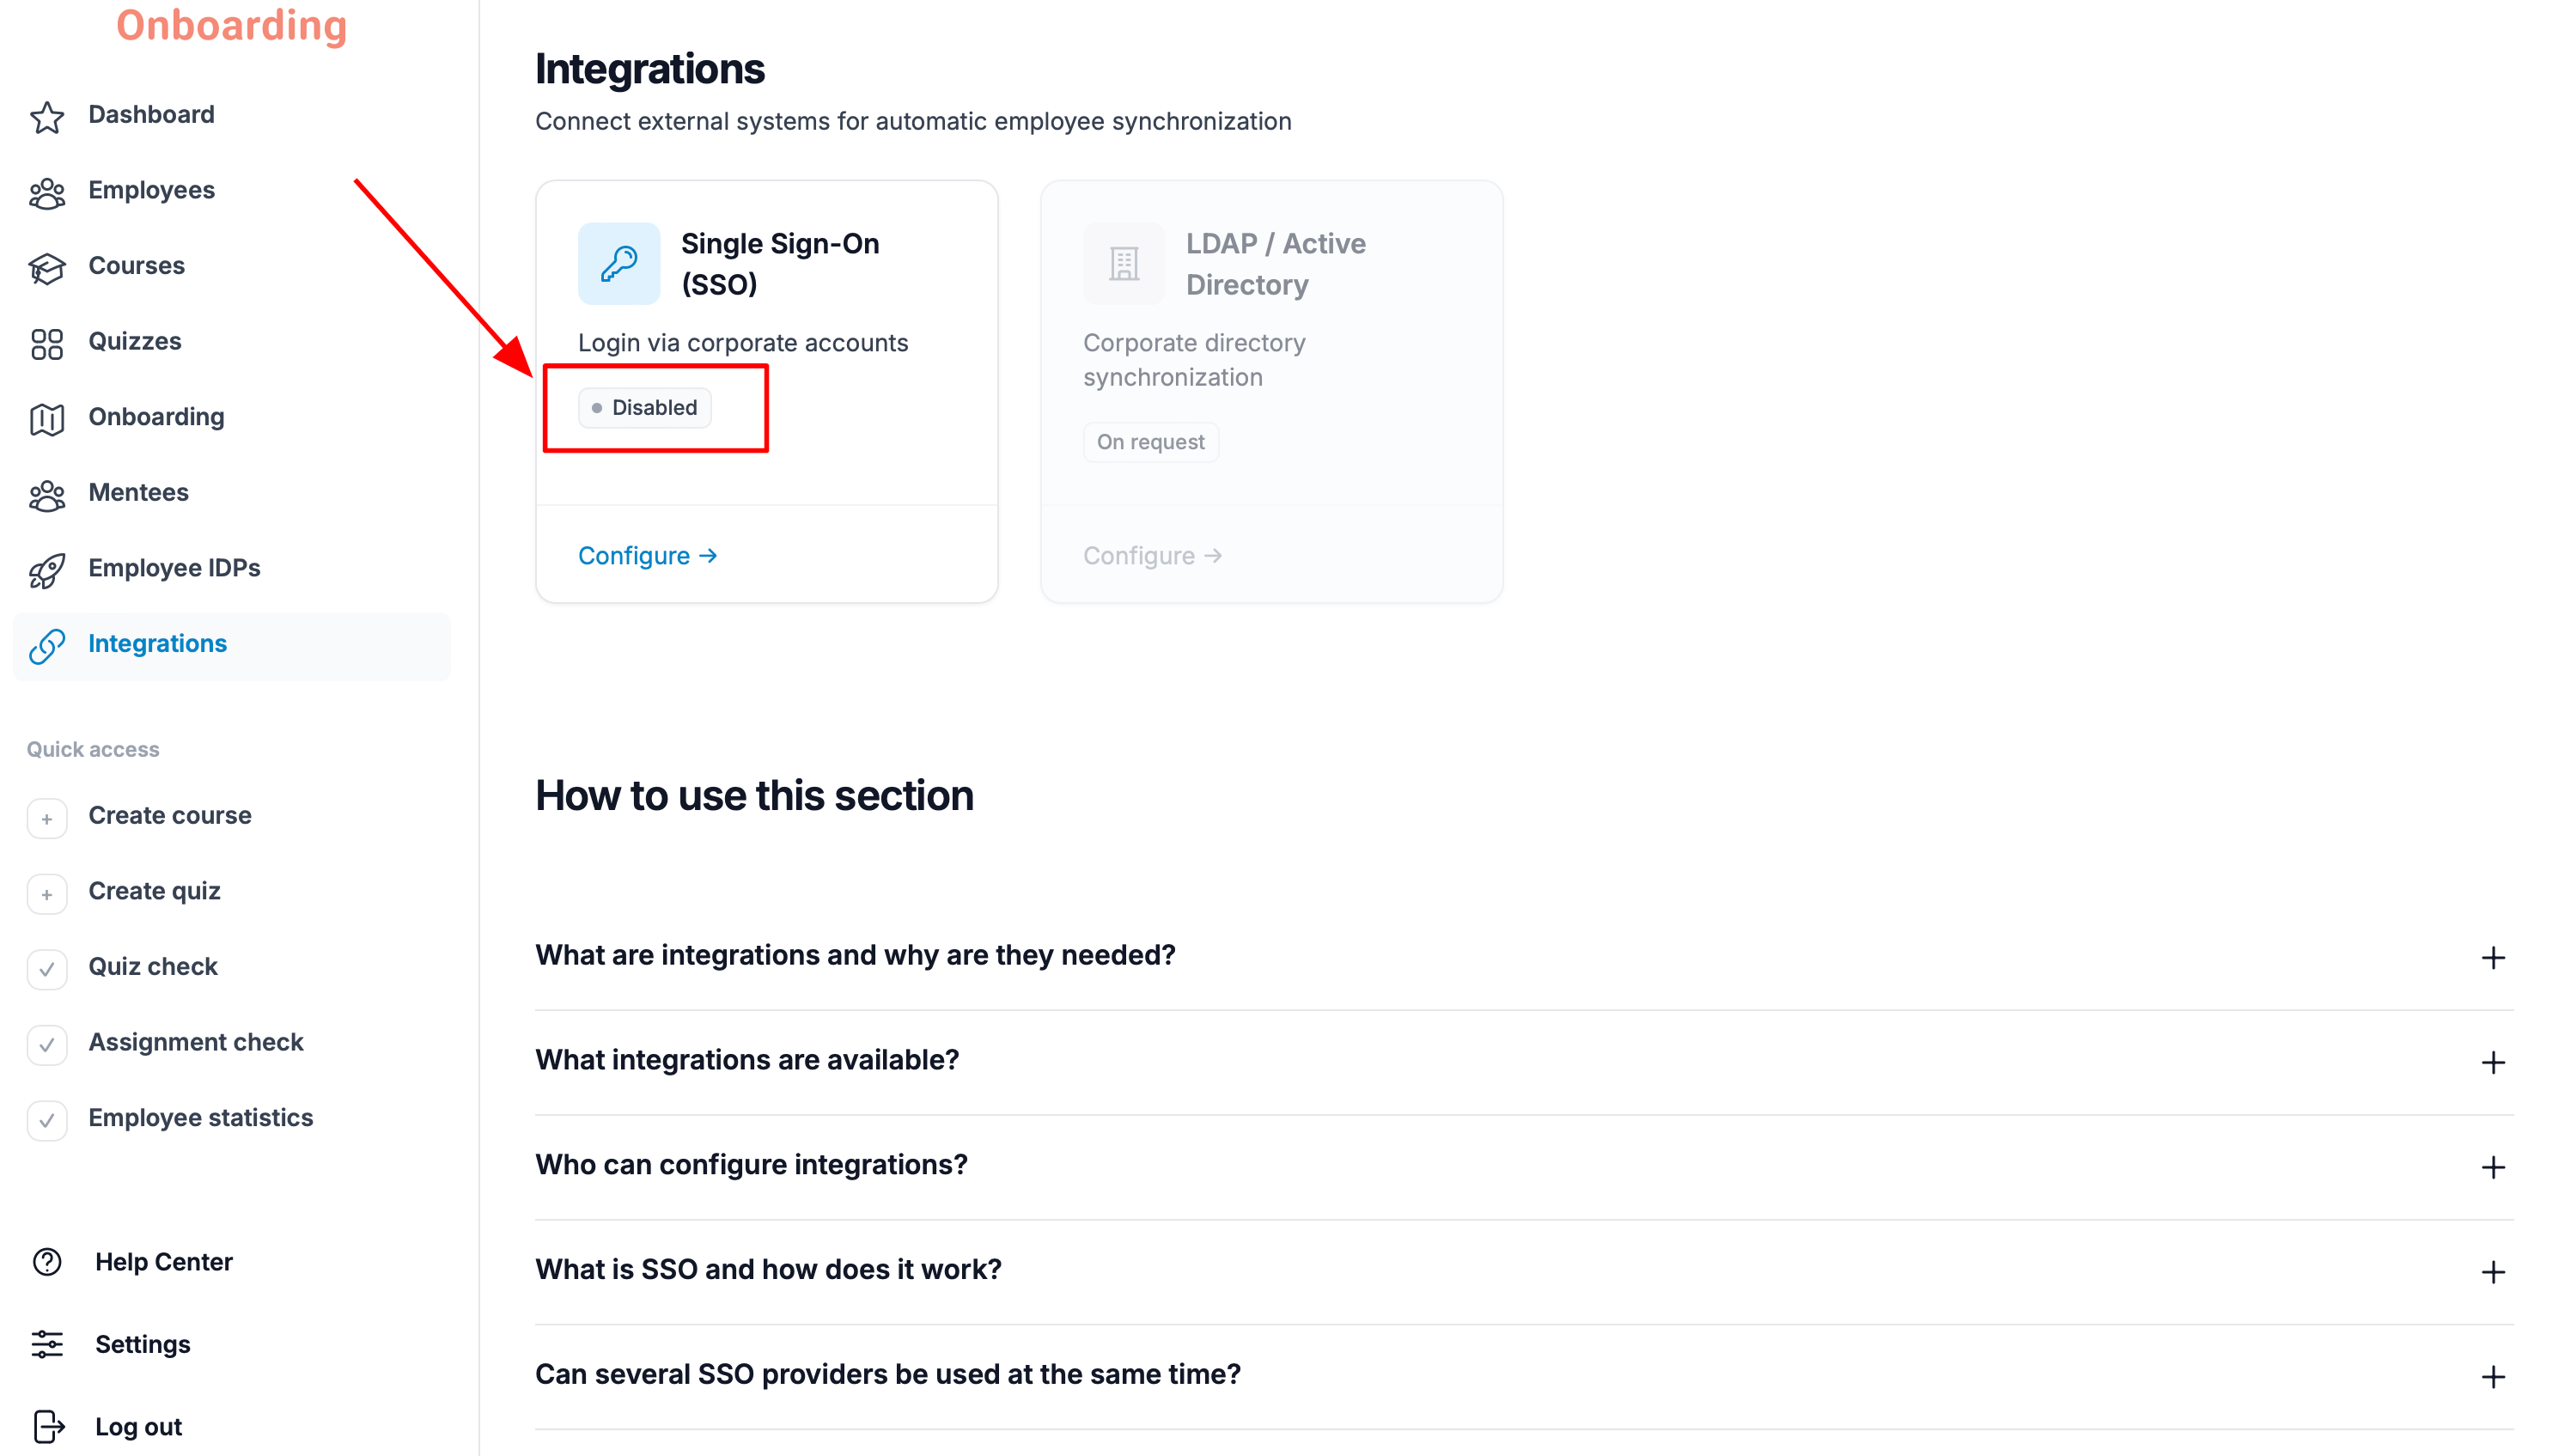
Single Sign-On (SSO) lets employees sign in to the platform with their corporate account, with no separate username and password to create.
The following identity providers are currently supported:
- Microsoft Entra ID;
- Google Workspace.
Only one SSO provider can be active at a time.
For example, if Google Workspace is selected, employees will see a «Sign in with Google» button on the login page. If you switch providers, the sign-in button updates automatically.
When setting up SSO, you must choose a default group.
Every new employee who signs in via SSO for the first time is automatically added to that group with the «Student/Employee» role.
All data is transferred over the secure OAuth2 protocol, and the Client Secret is stored encrypted.
For extra protection, we recommend restricting sign-in to a list of allowed email domains.
Setting up SSO
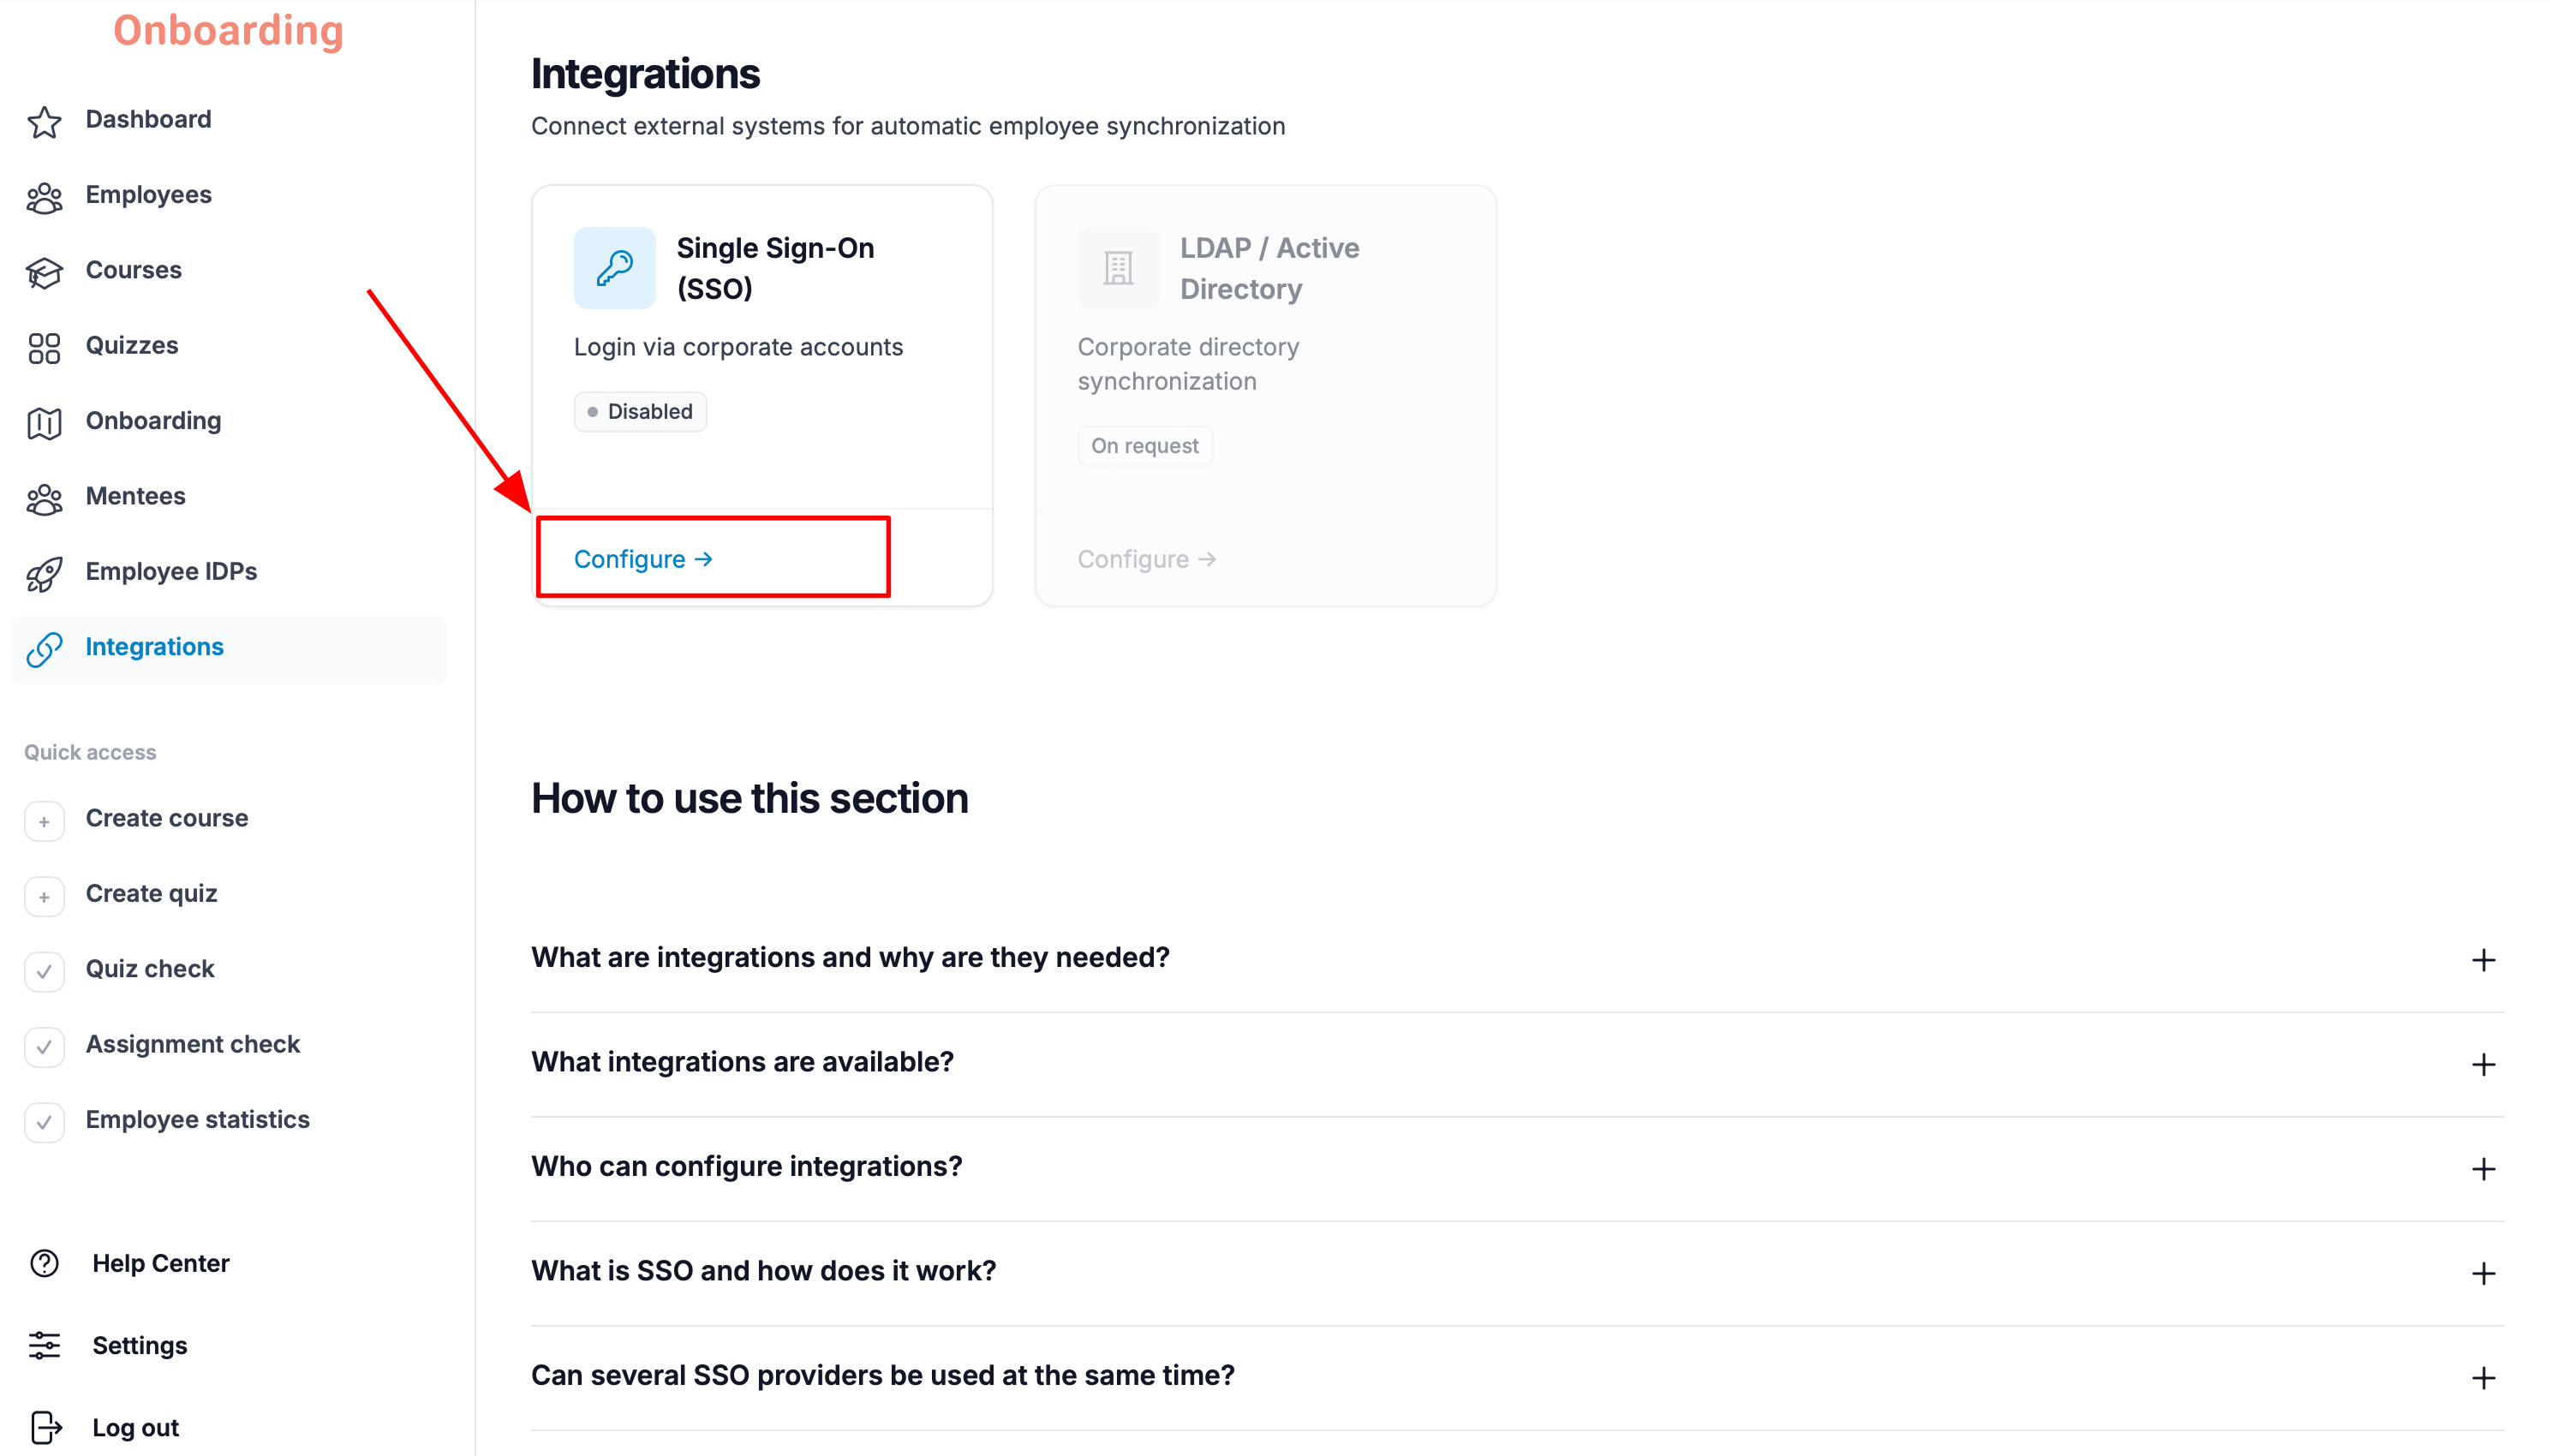
To set up the SSO integration, open the «Integrations» section and click «Configure» on the Single Sign-On (SSO) card.
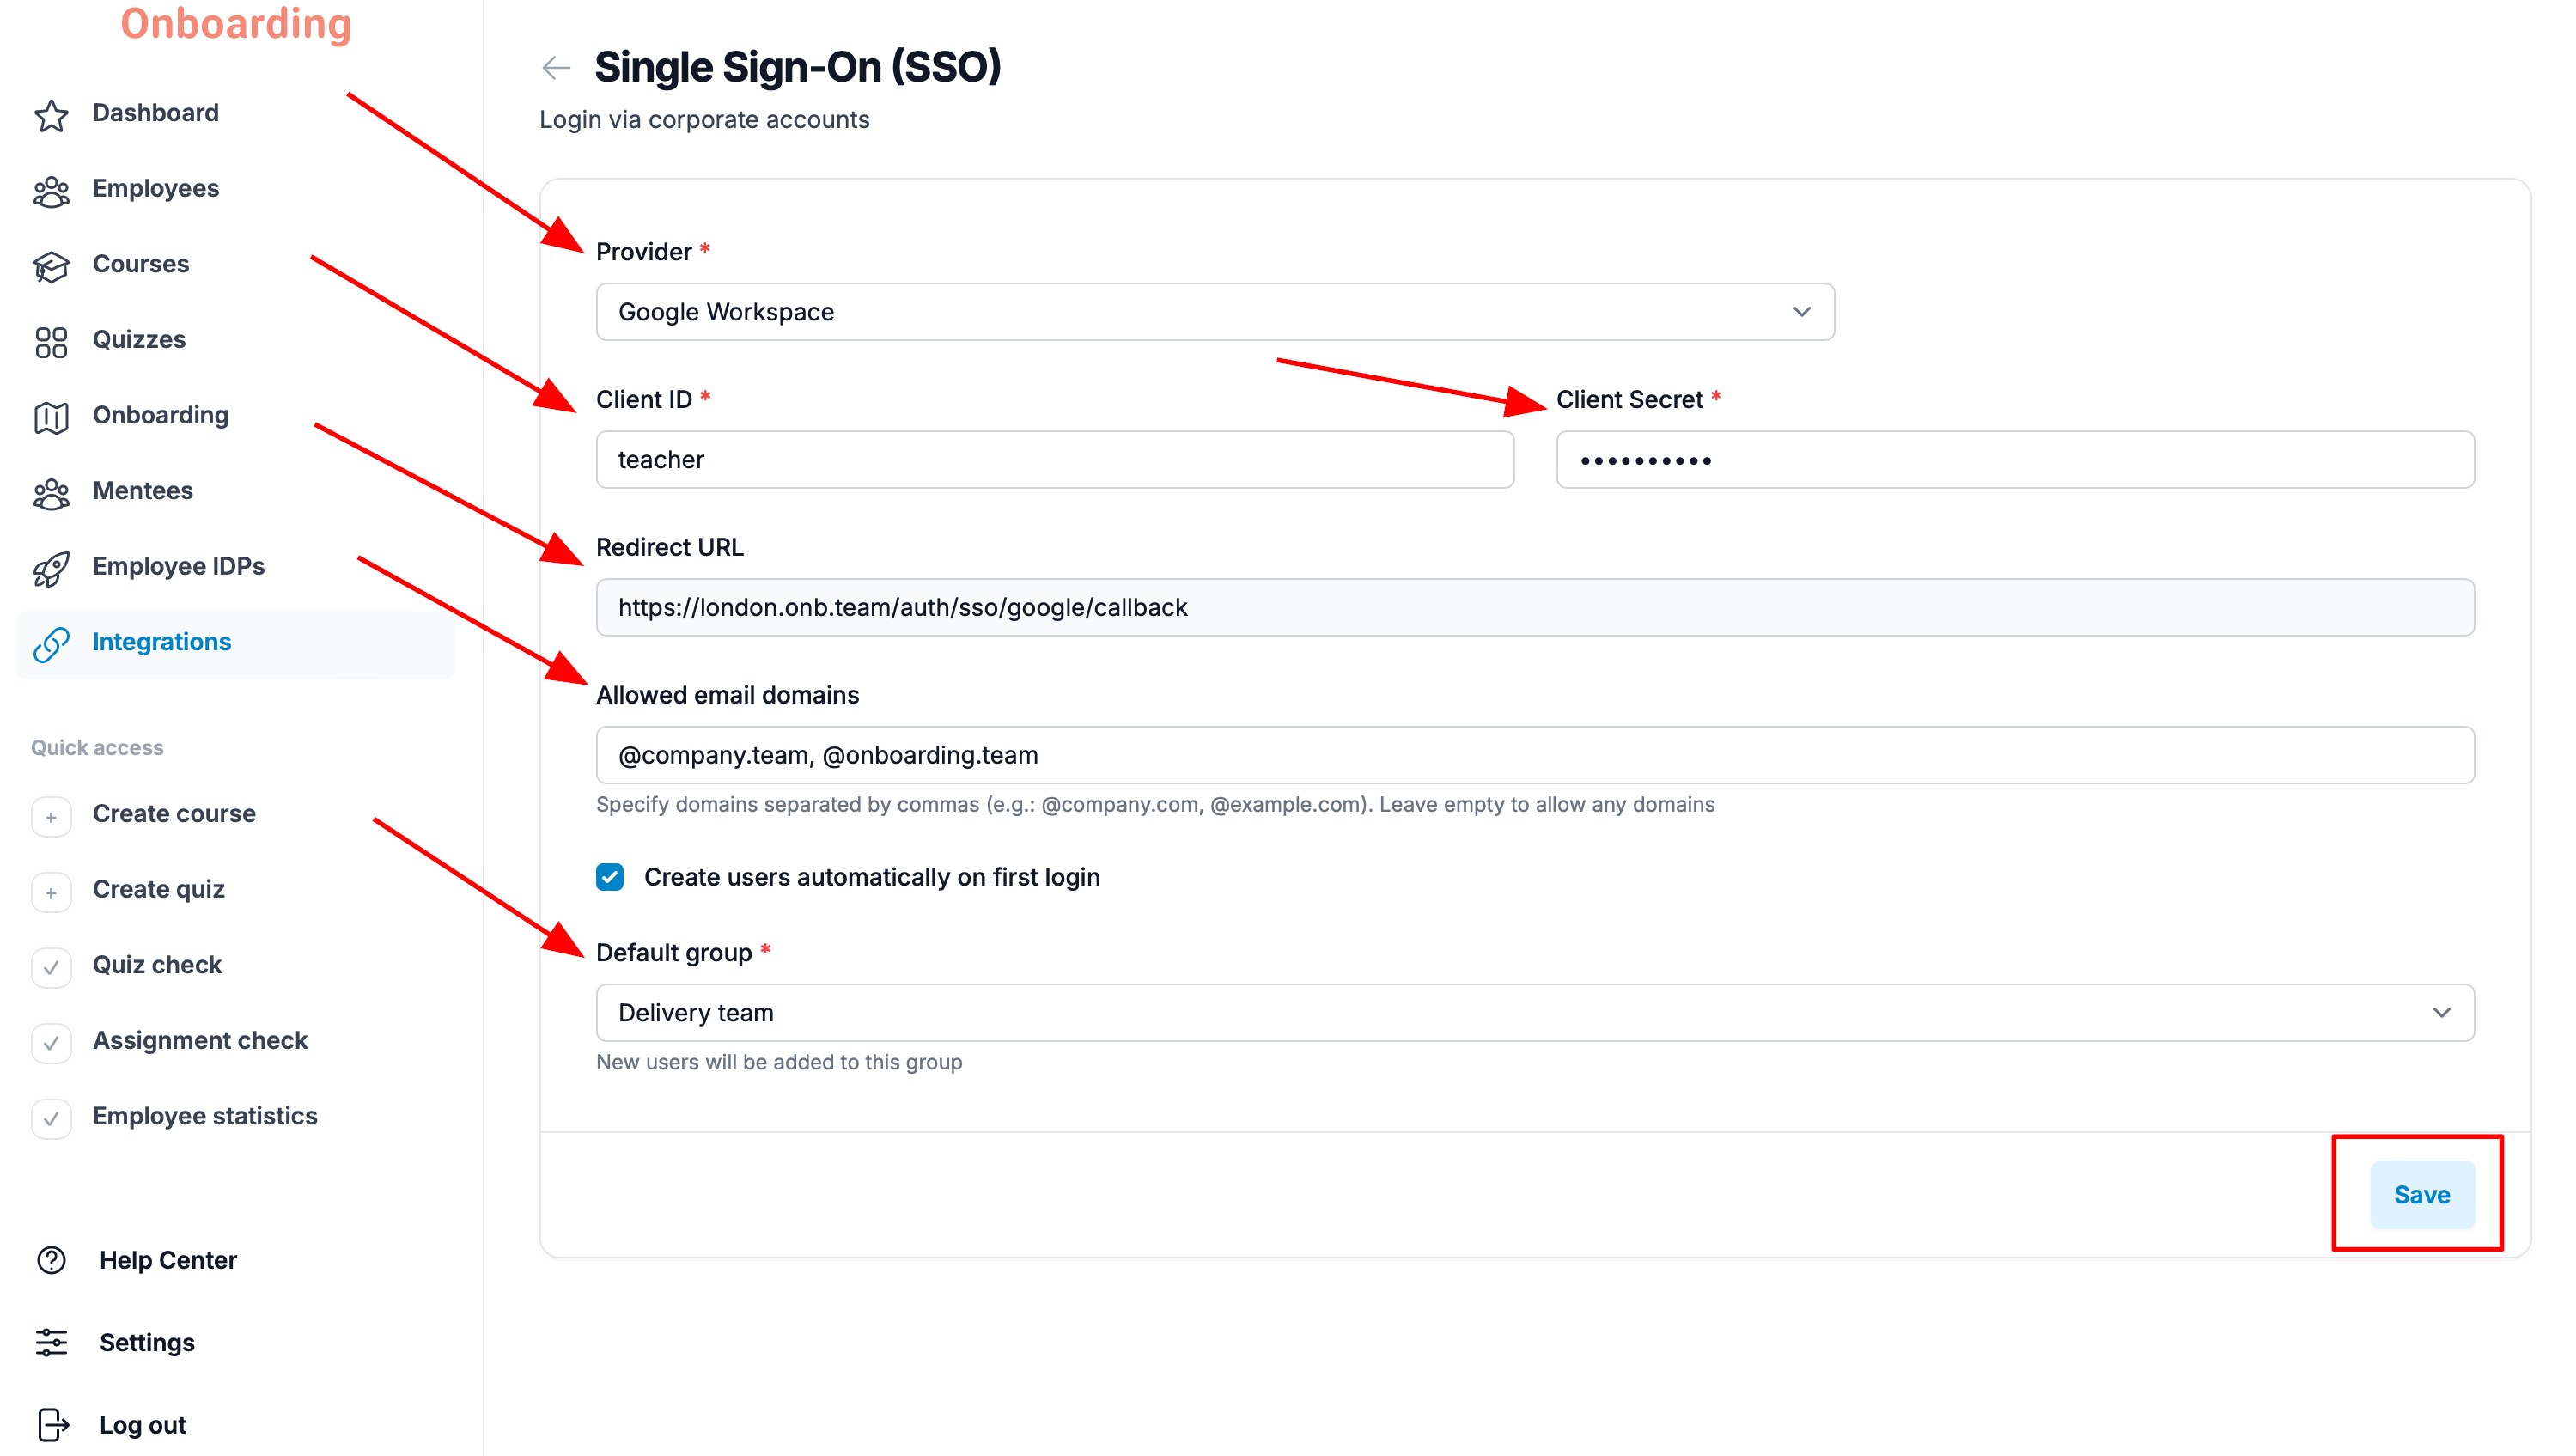
The integration settings page opens.
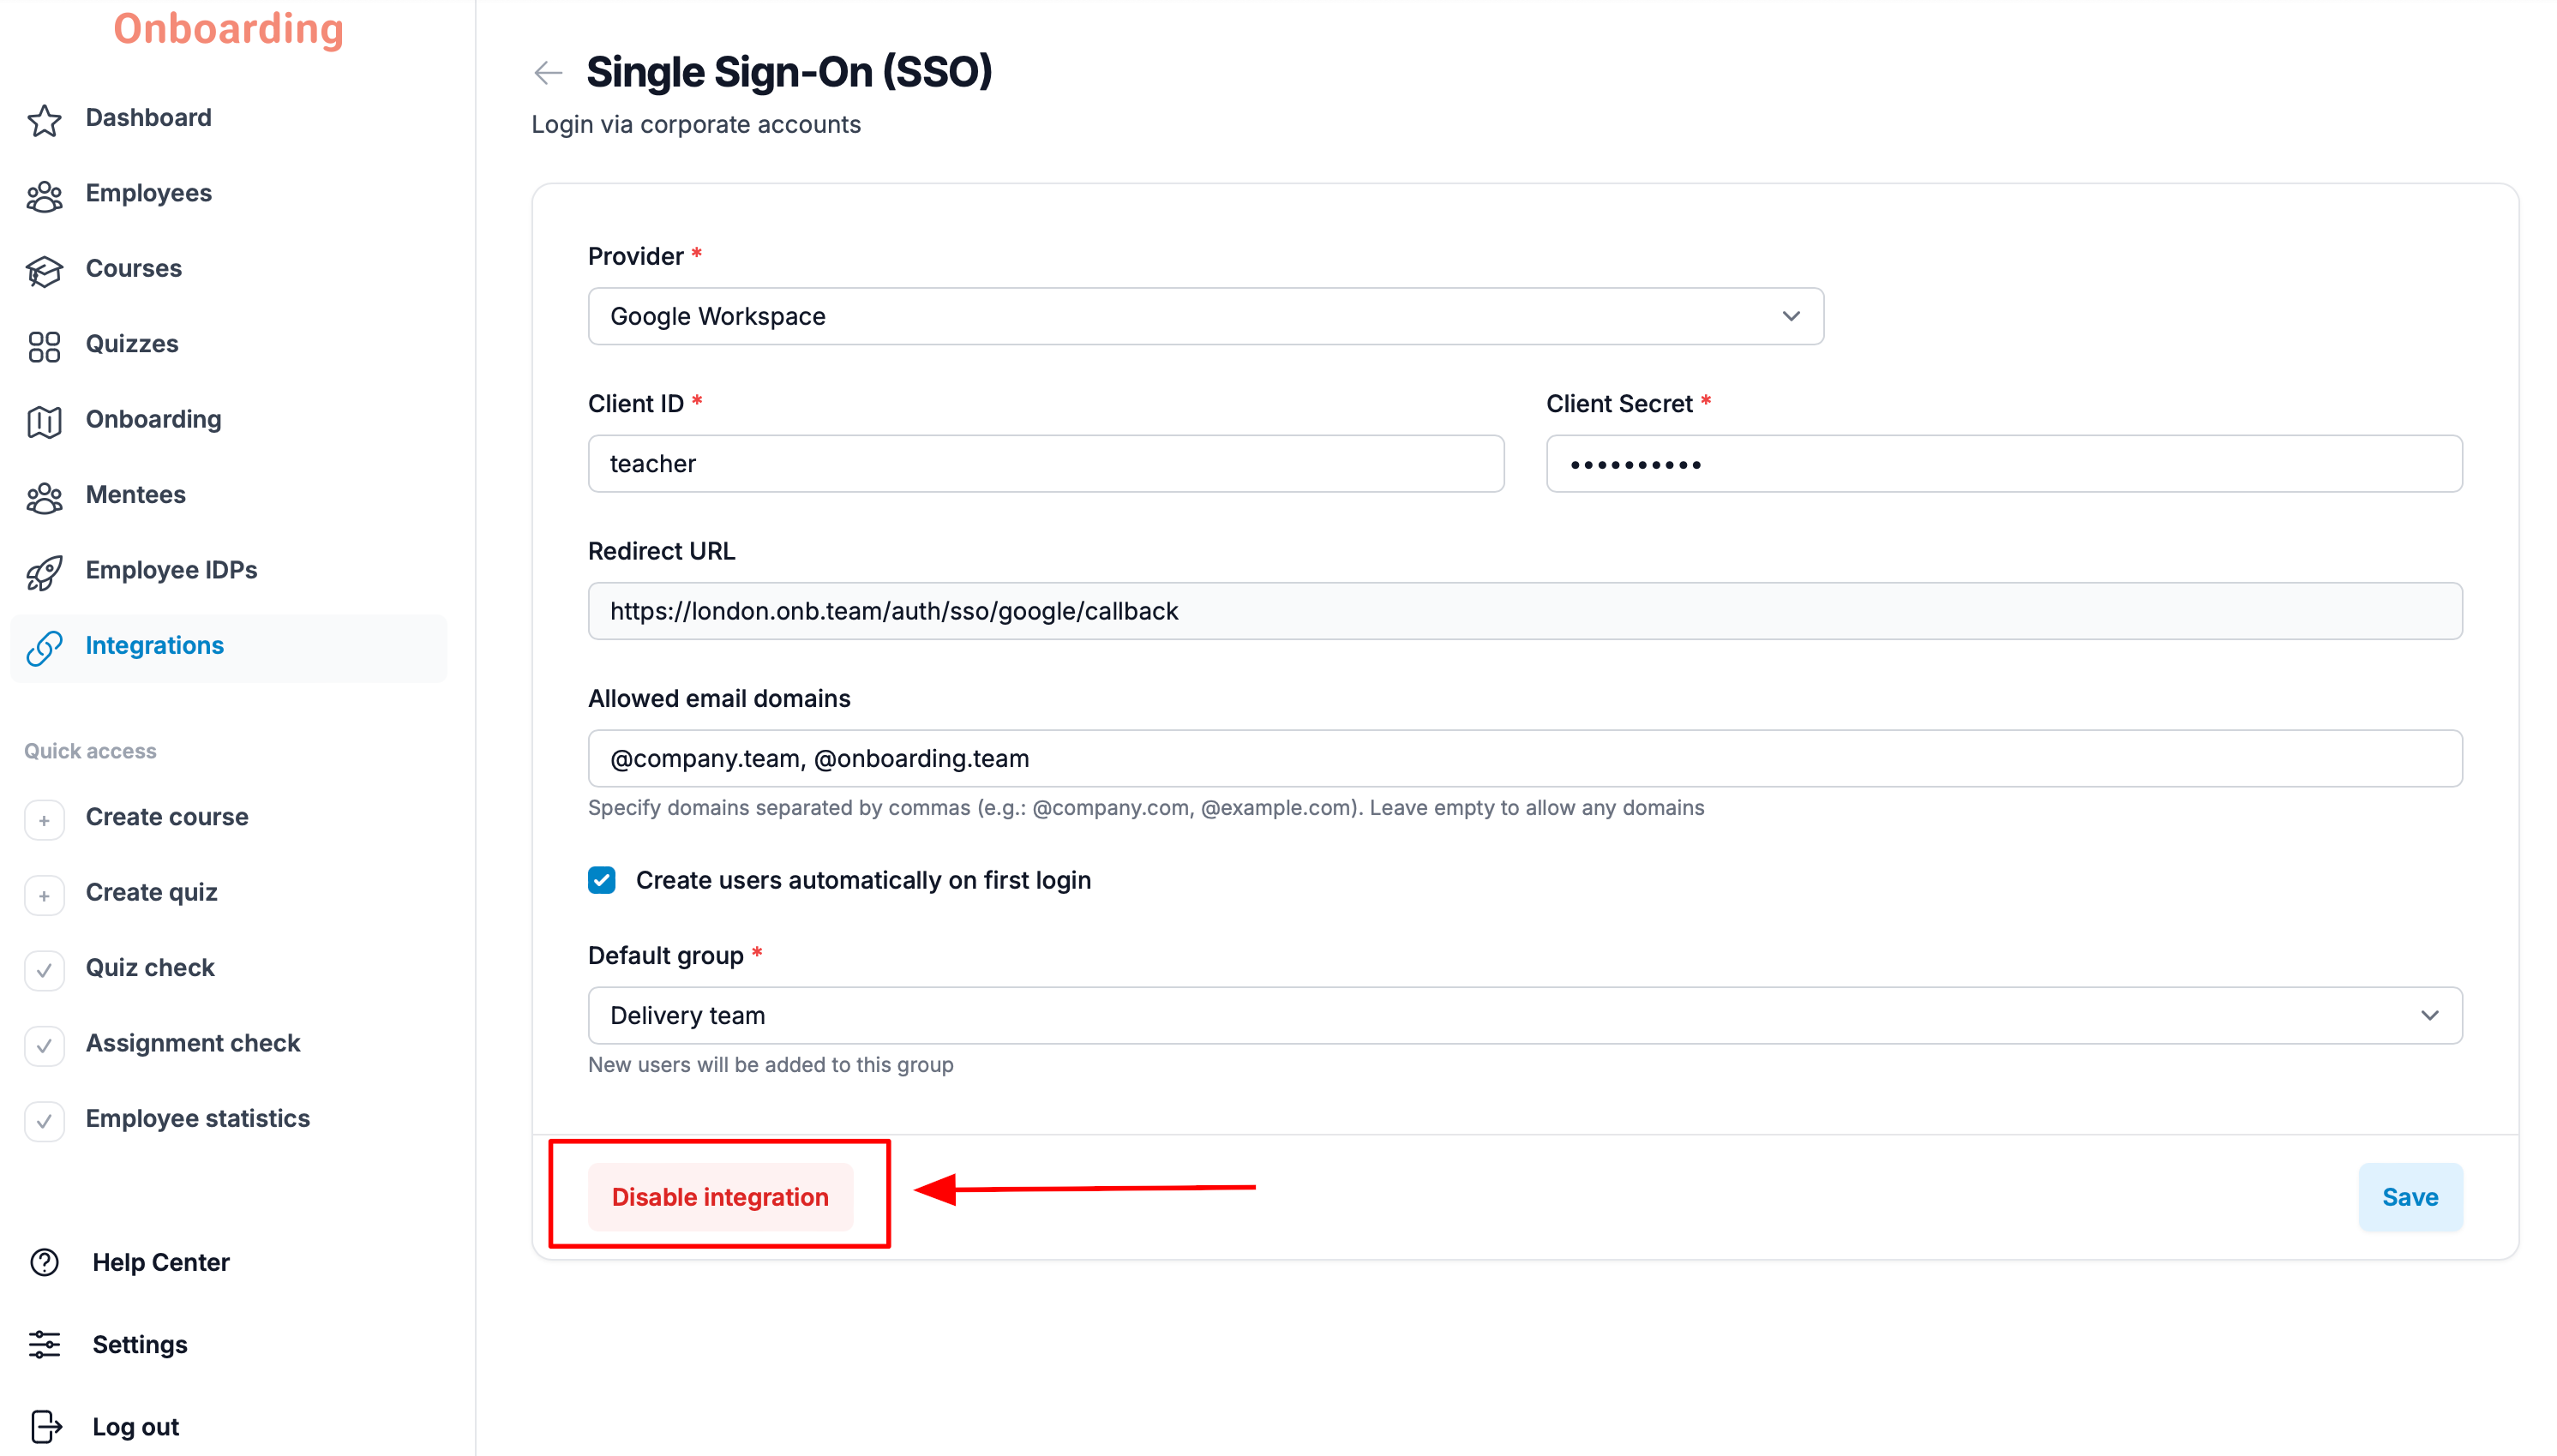
Fill in the following fields:
- Provider – choose an identity provider from the drop-down list.
- Client ID – the application identifier issued by your chosen provider.
- Client Secret – the application's secret key.
- Redirect URL – the address the provider will redirect the user to after a successful sign-in.
- Allowed email domains – a comma-separated list of email domains allowed to sign in to the platform (for example: @company.ru, @example.com). Users from other domains won't be able to sign in. Leave the field empty to skip this restriction.
- Default group – the group that new employees signing in via SSO for the first time will automatically be added to.
The «Create users automatically on first login» option is on by default. Untick it if needed.
Once all the fields are filled in, click «Save».
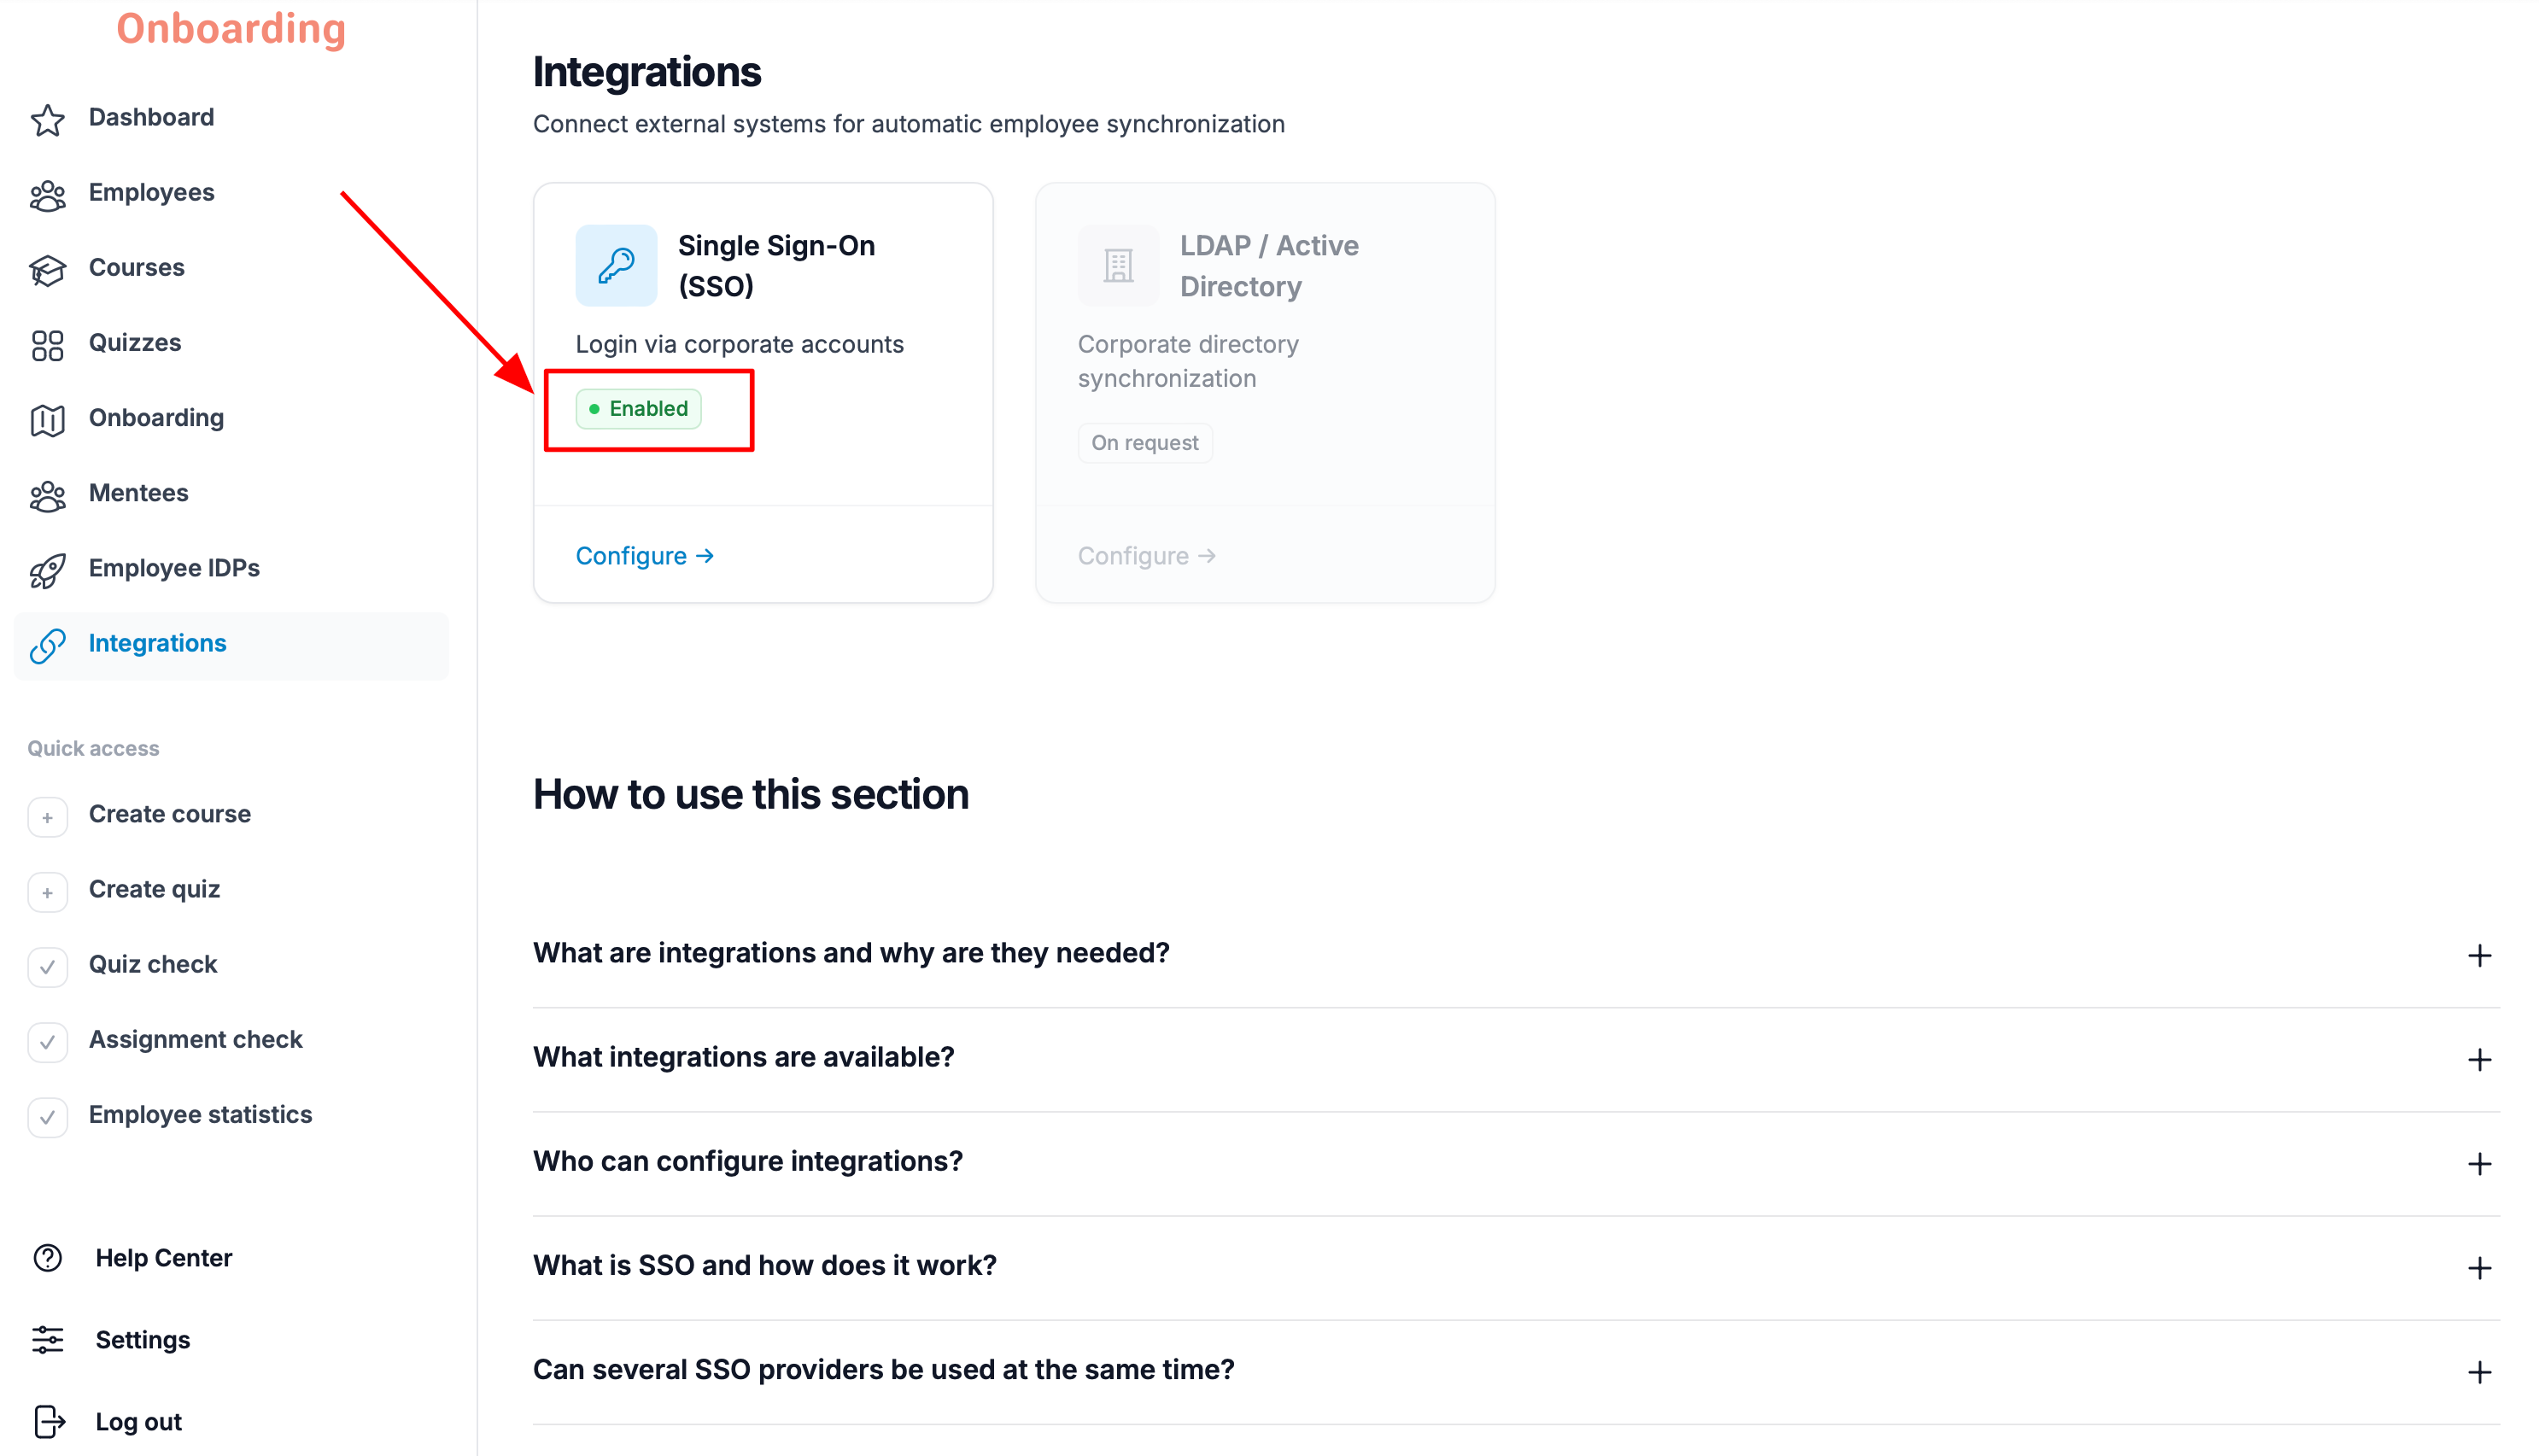
The integration is set up 🎉
After saving, the status on the Single Sign-On (SSO) card changes to «Enabled».
What to do if SSO isn't working
If employees can't sign in via SSO, check:
- that the Client ID and Client Secret are correct;
- that the Redirect URL in your provider's settings is correct;
- the list of allowed email domains (if you've set one);
- that the integration is turned on and shows the «Enabled» status.
Disabling SSO
You can disable SSO without deleting the saved settings.
To do that, open the «Integrations» section, click «Configure» on the Single Sign-On (SSO) card, and choose «Disable integration».
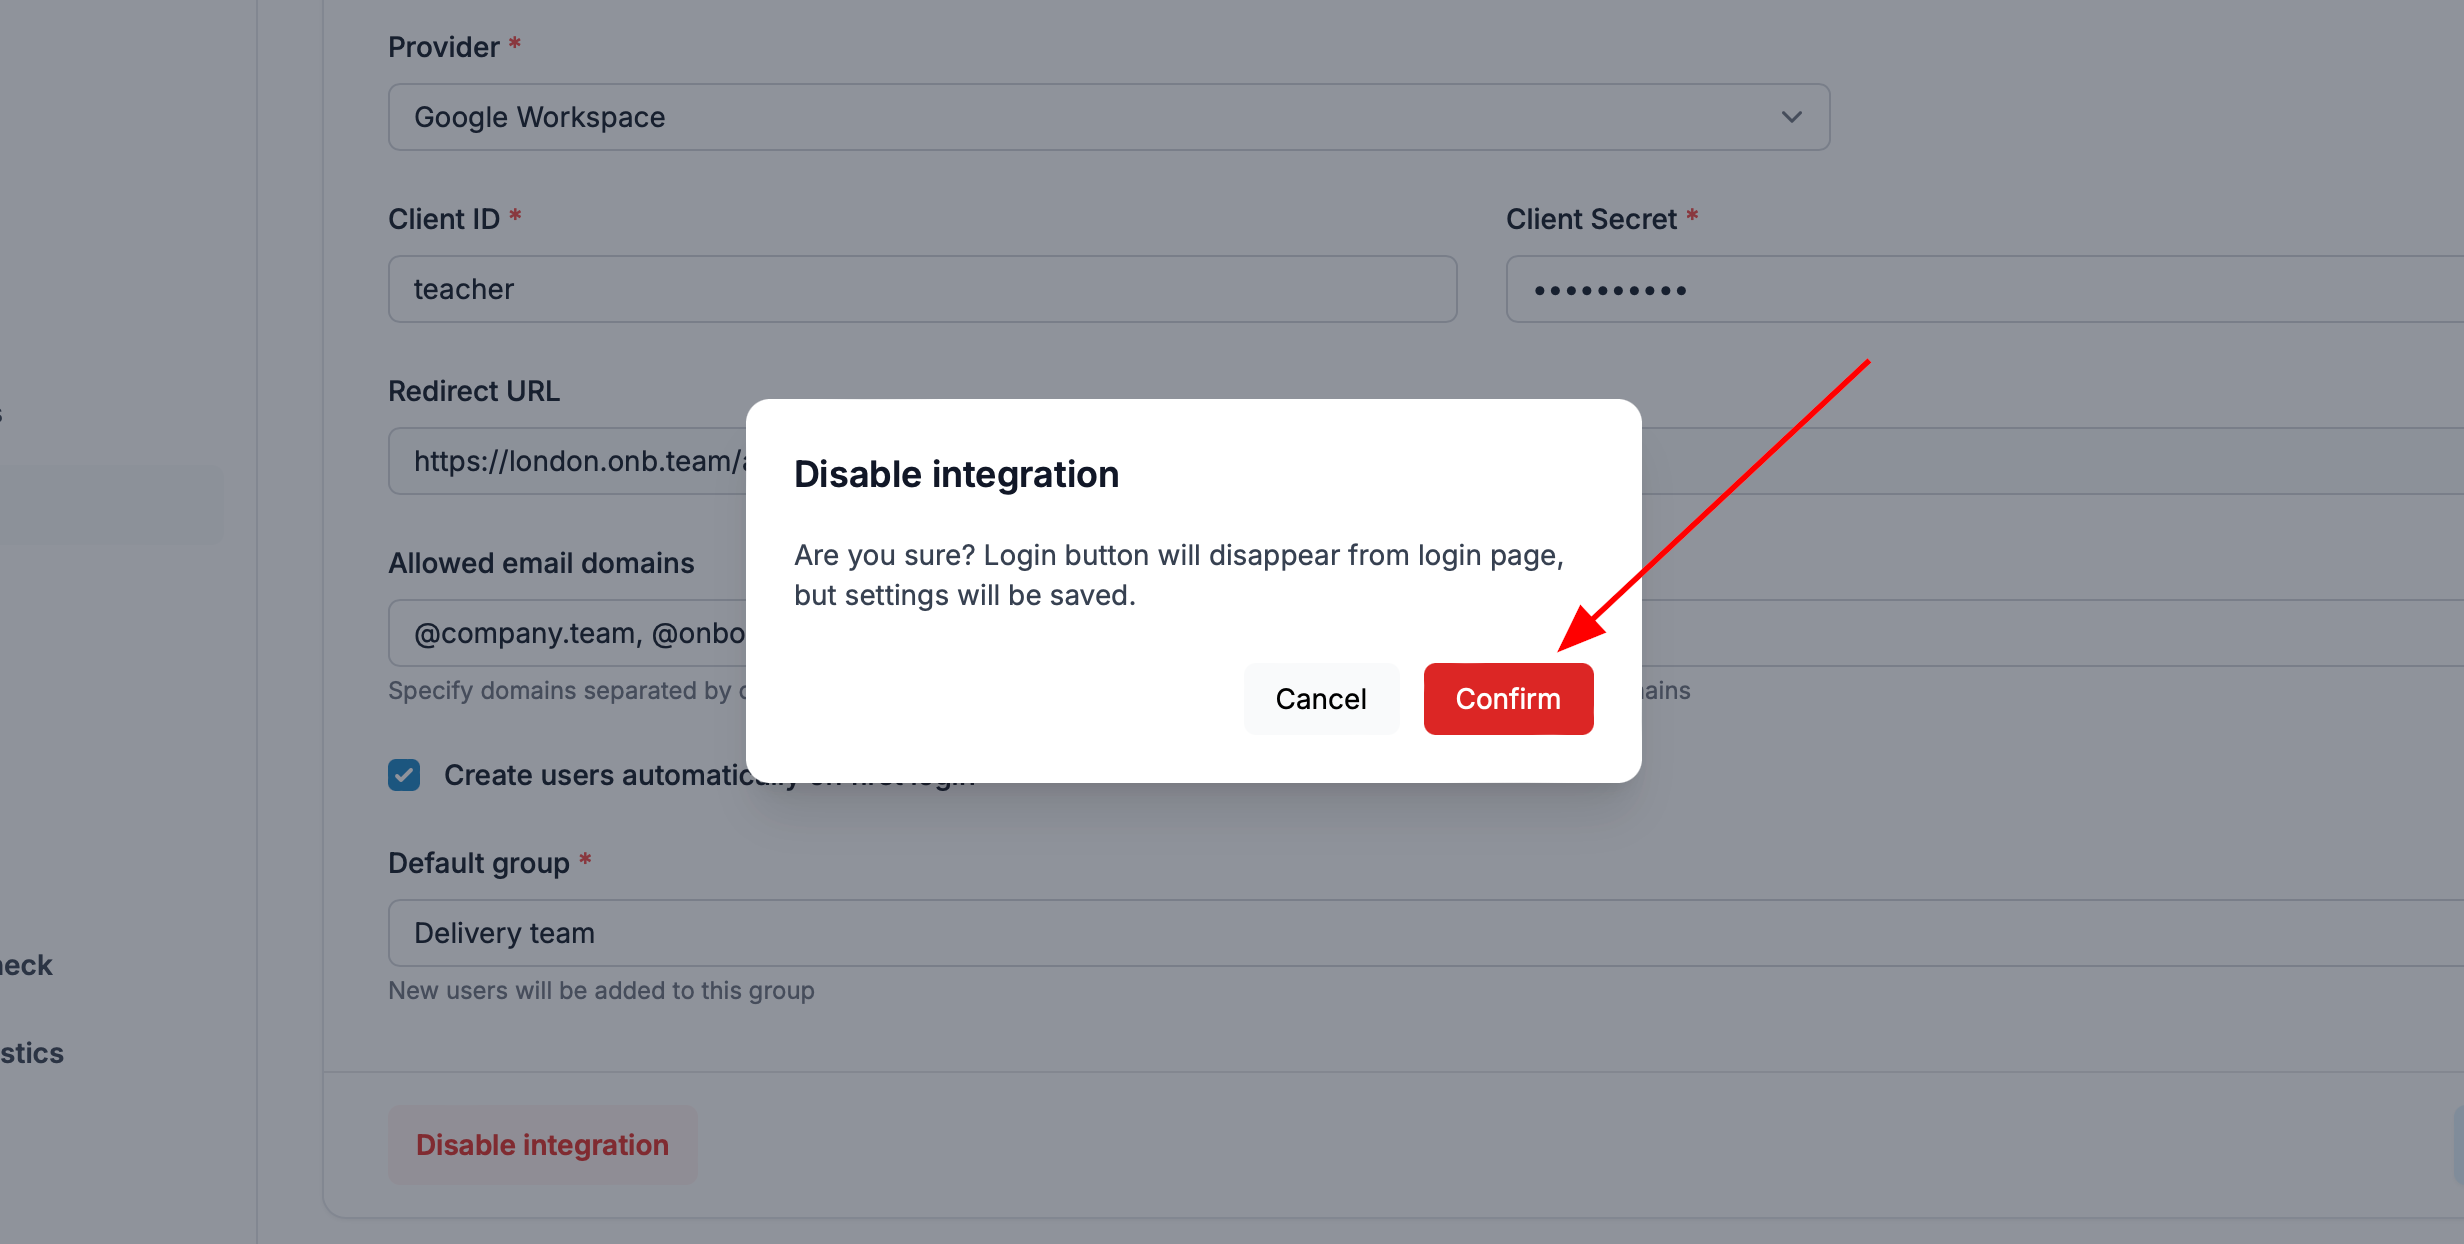
Confirm the action in the window that appears.
The integration's status changes to «Disabled».
After disabling, the SSO sign-in button disappears from the login page, but all the integration settings are preserved. You can turn SSO back on at any time without setting it up again.