What are groups and what are they for?
Groups help you organize employees on the platform by role, department, or any other category your company uses.
For a restaurant, for example, the groups might be:
- Cooks;
- Servers;
- Couriers;
- Shift managers.
When you add an employee to the system, you assign them to the appropriate group right away.
Groups are used to assign training automatically. Depending on their group, an employee gets access to the right courses, quizzes, and onboarding tracks.
For example, employees in the «Cooks» group will take training related to food preparation and kitchen work, while employees in the «Servers» group will take courses on guest service standards and front-of-house work.
Groups let you assign training to several employees at once and keep onboarding programs up to date for every role.
You need to create at least one group before adding employees to the platform.
When you invite or create an employee, the system will ask which group they belong to. If no groups exist yet, you won't be able to add the employee.
Creating a group
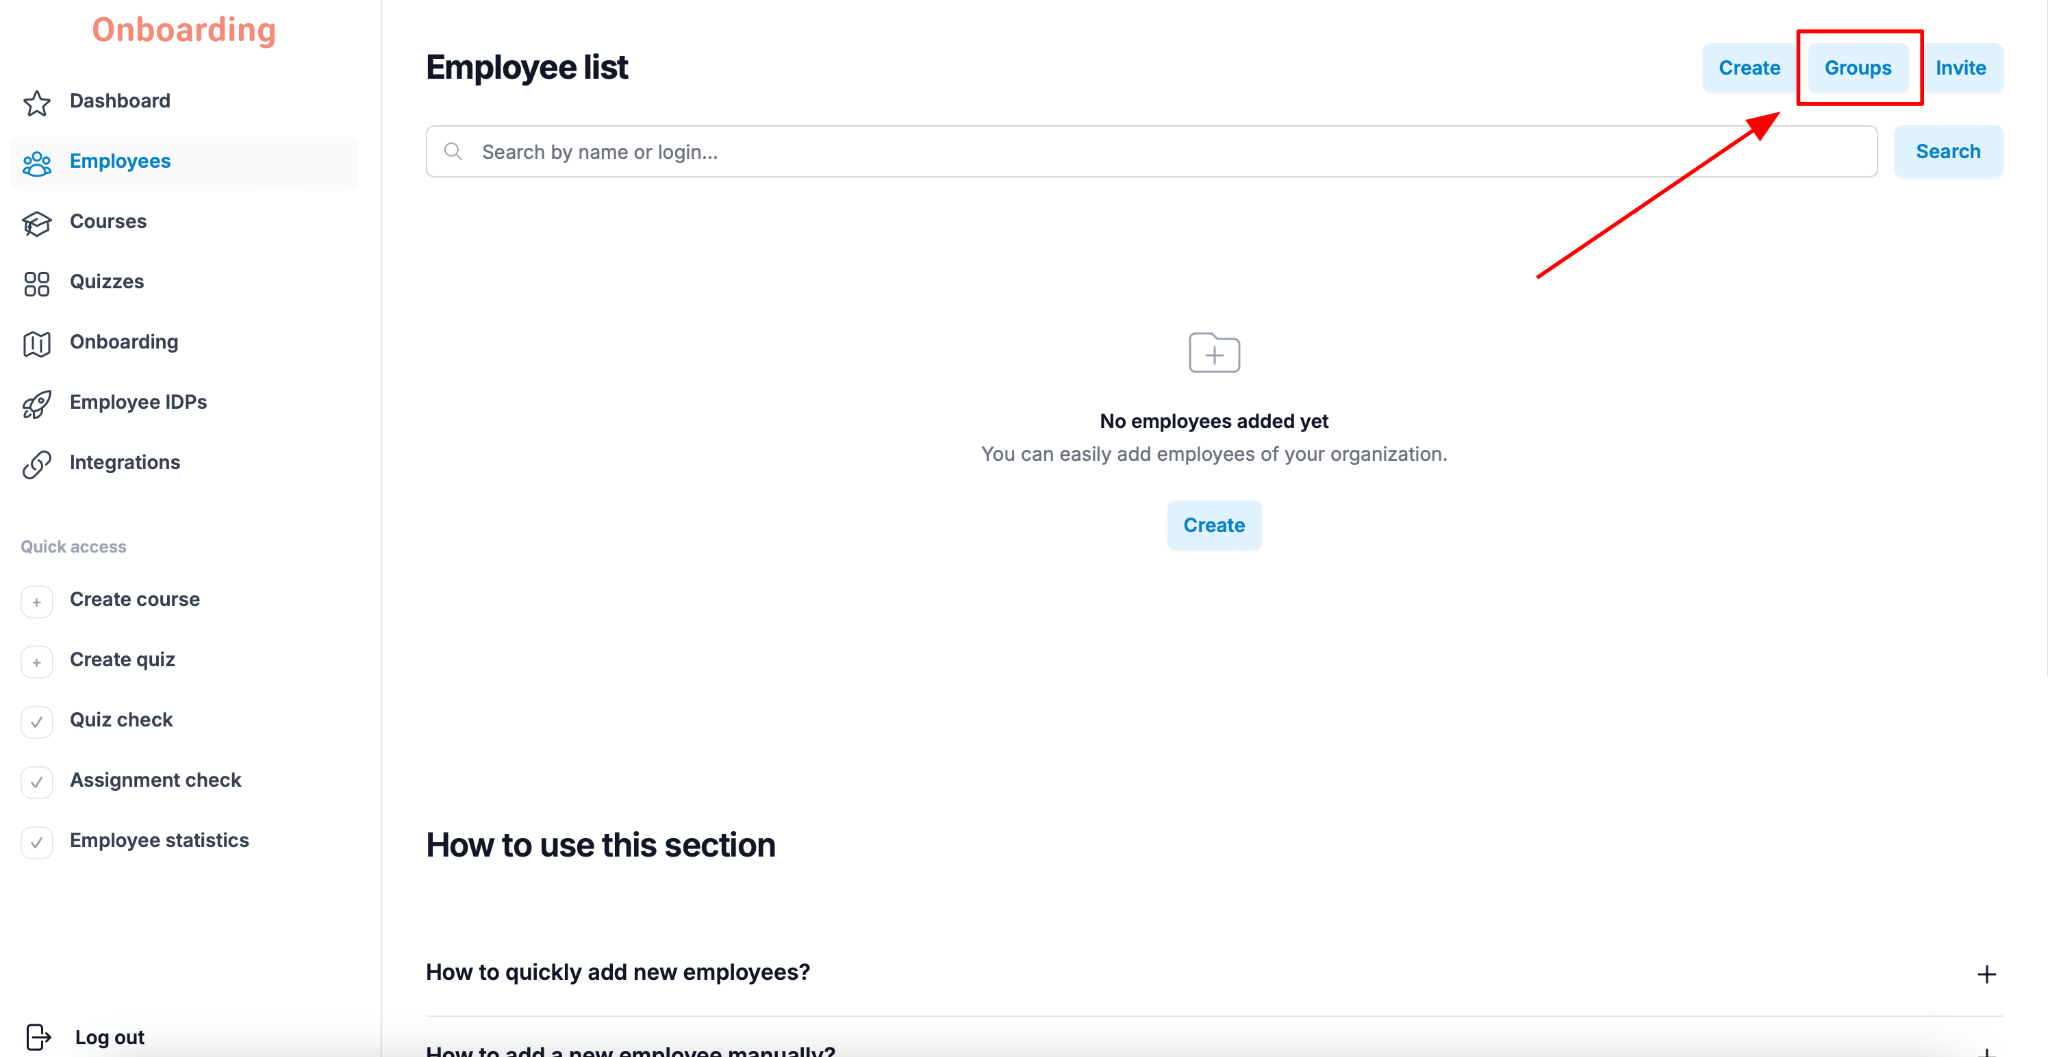
To create a new employee group, open the «Employees» section and click the «Groups» button in the top-right corner.
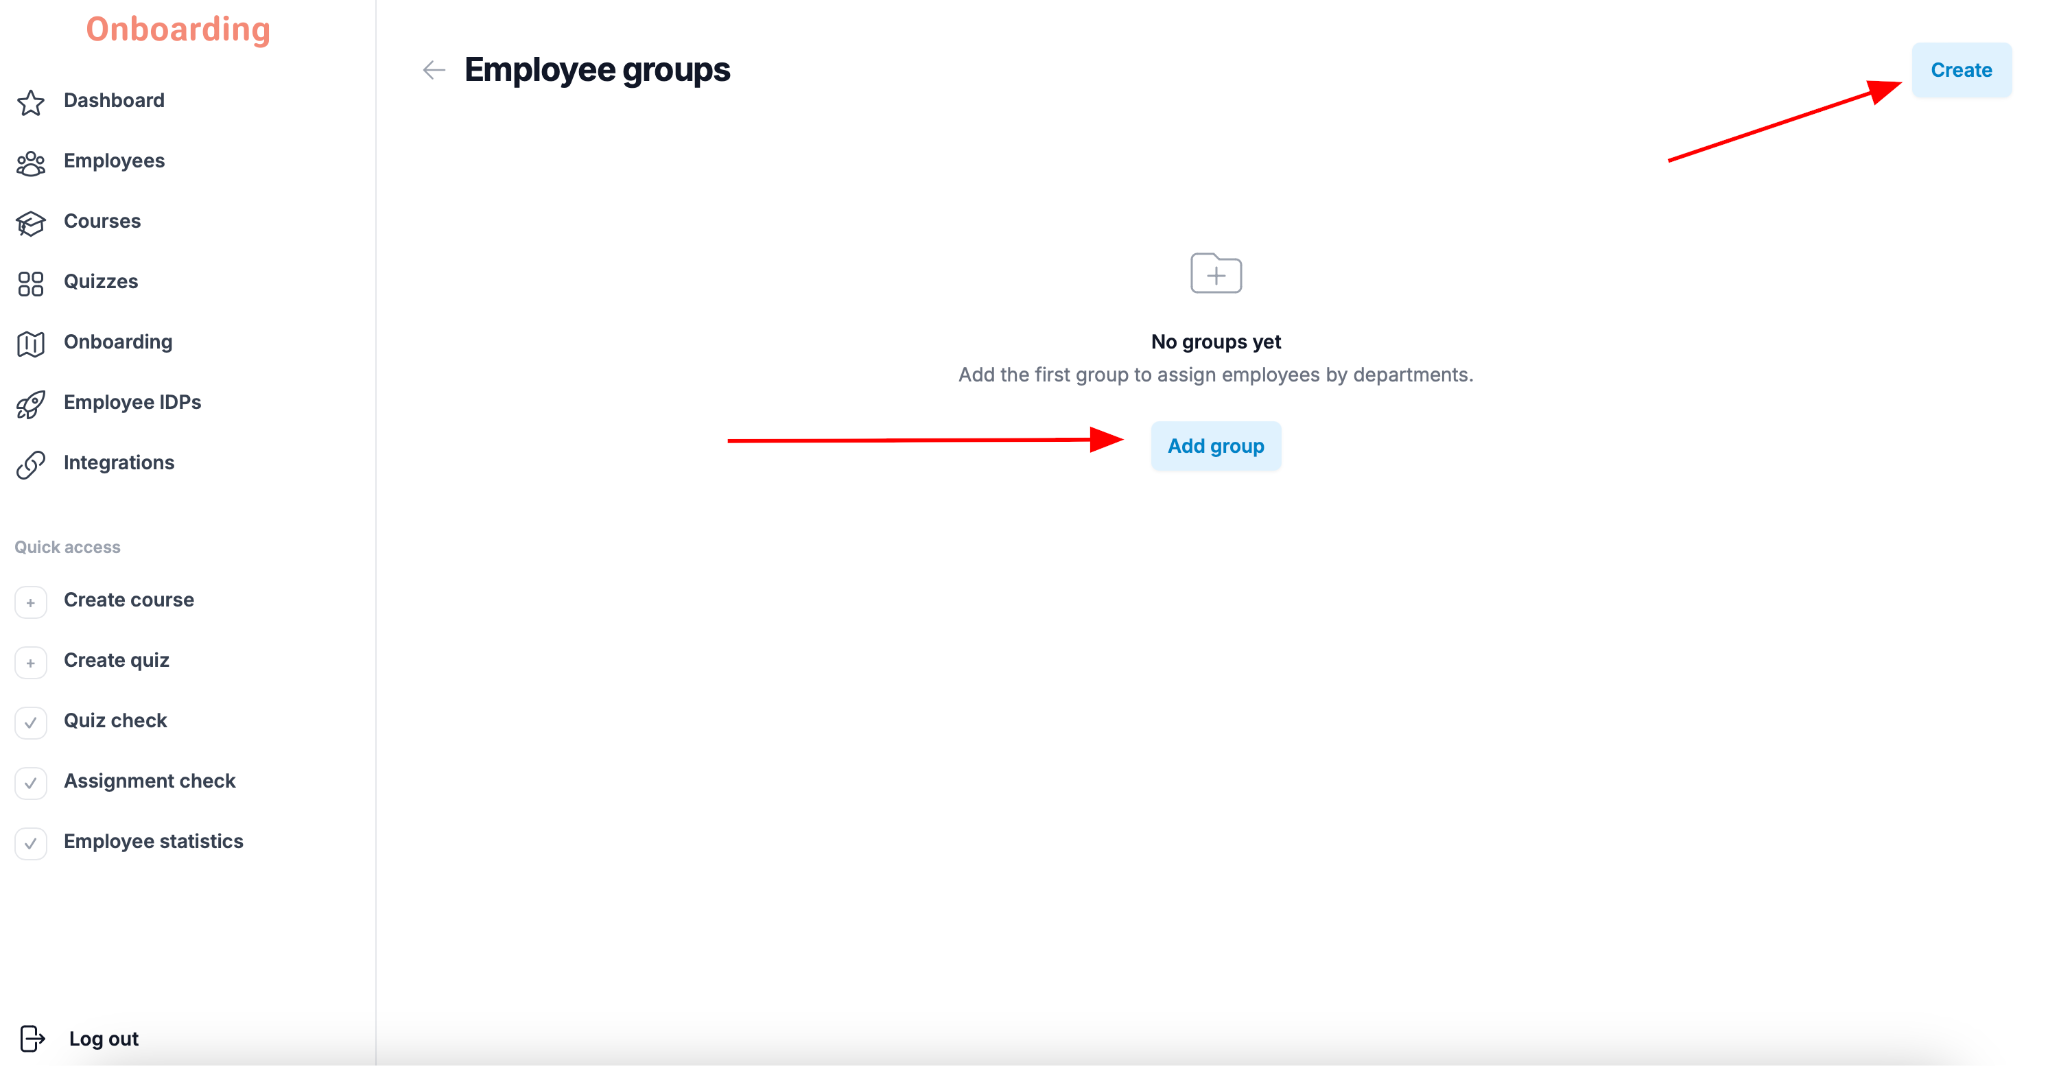
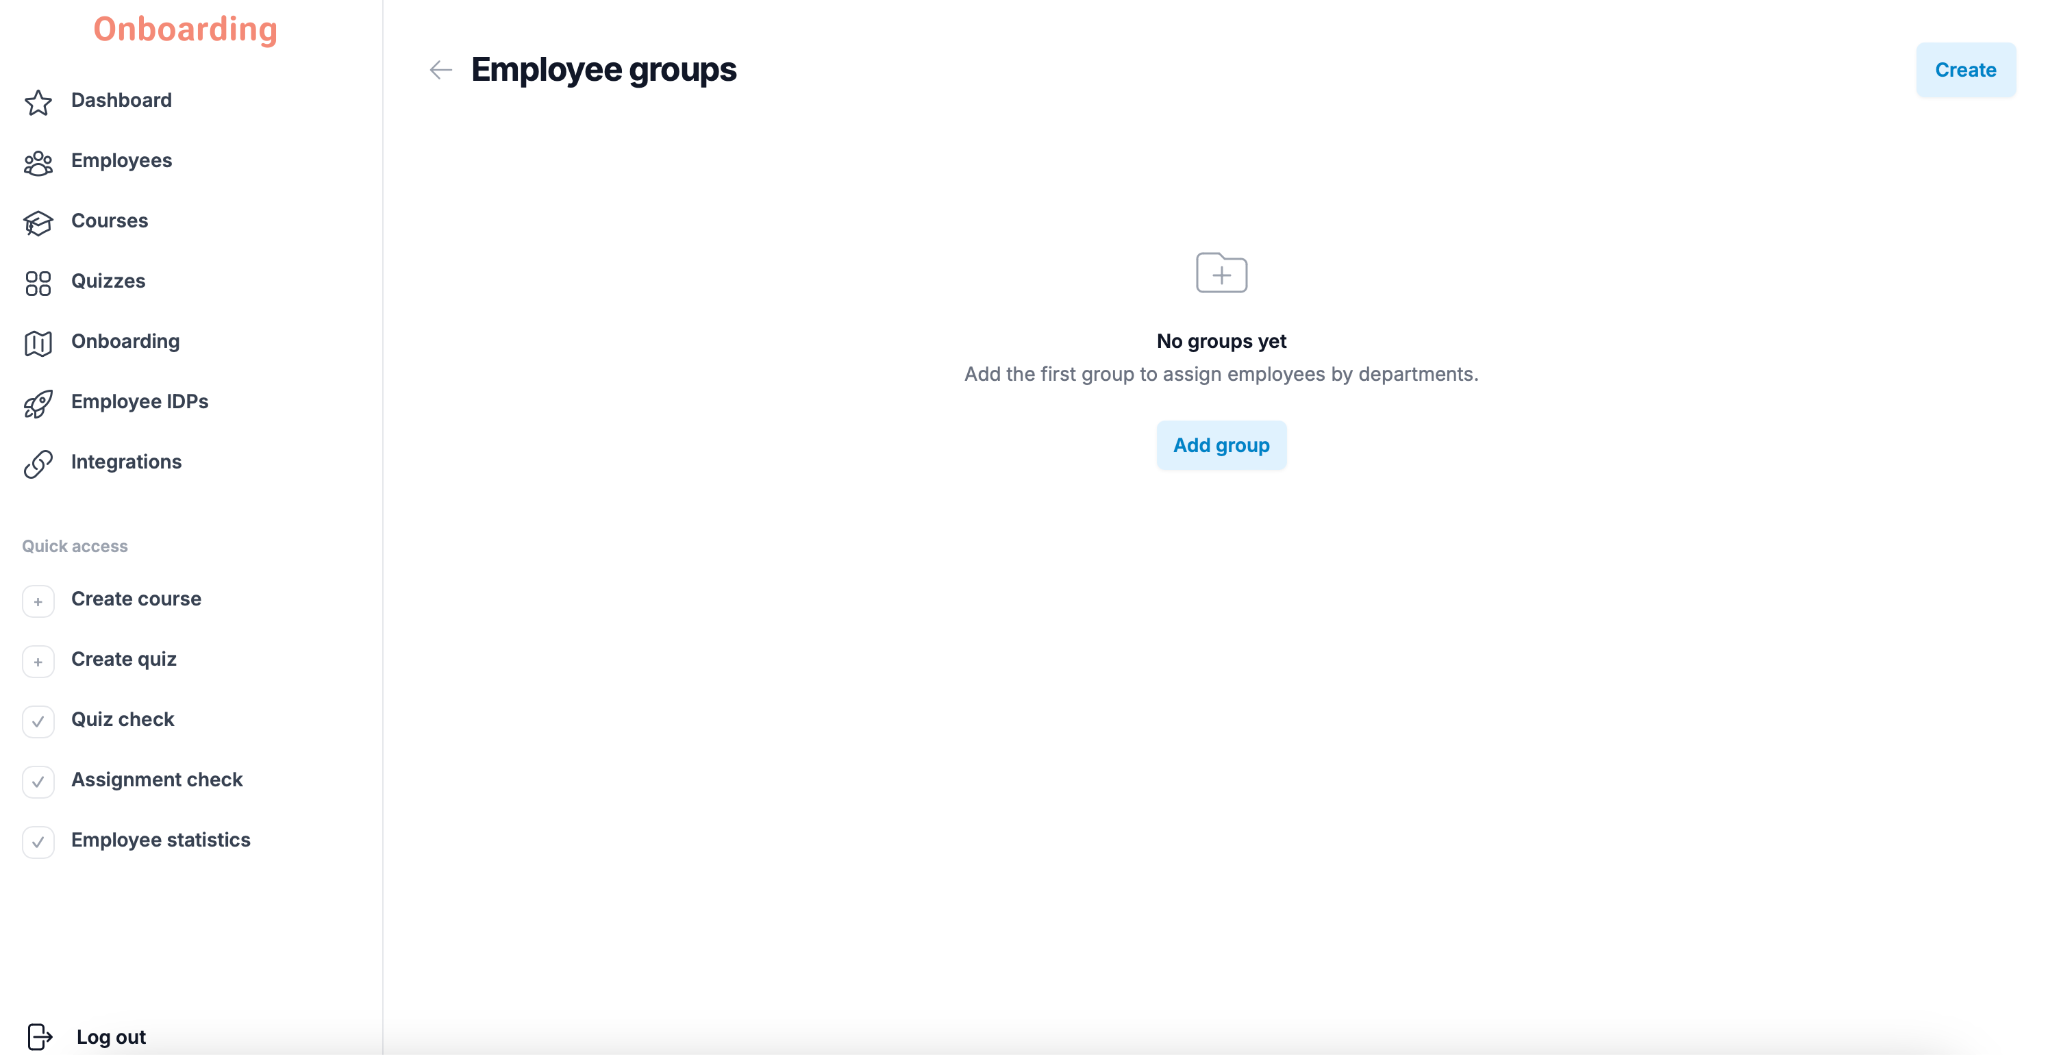
You'll land on the list of groups. If this is your first group, the list will be empty.
Click «Add group» in the middle of the page, or «Create» in the top-right corner.
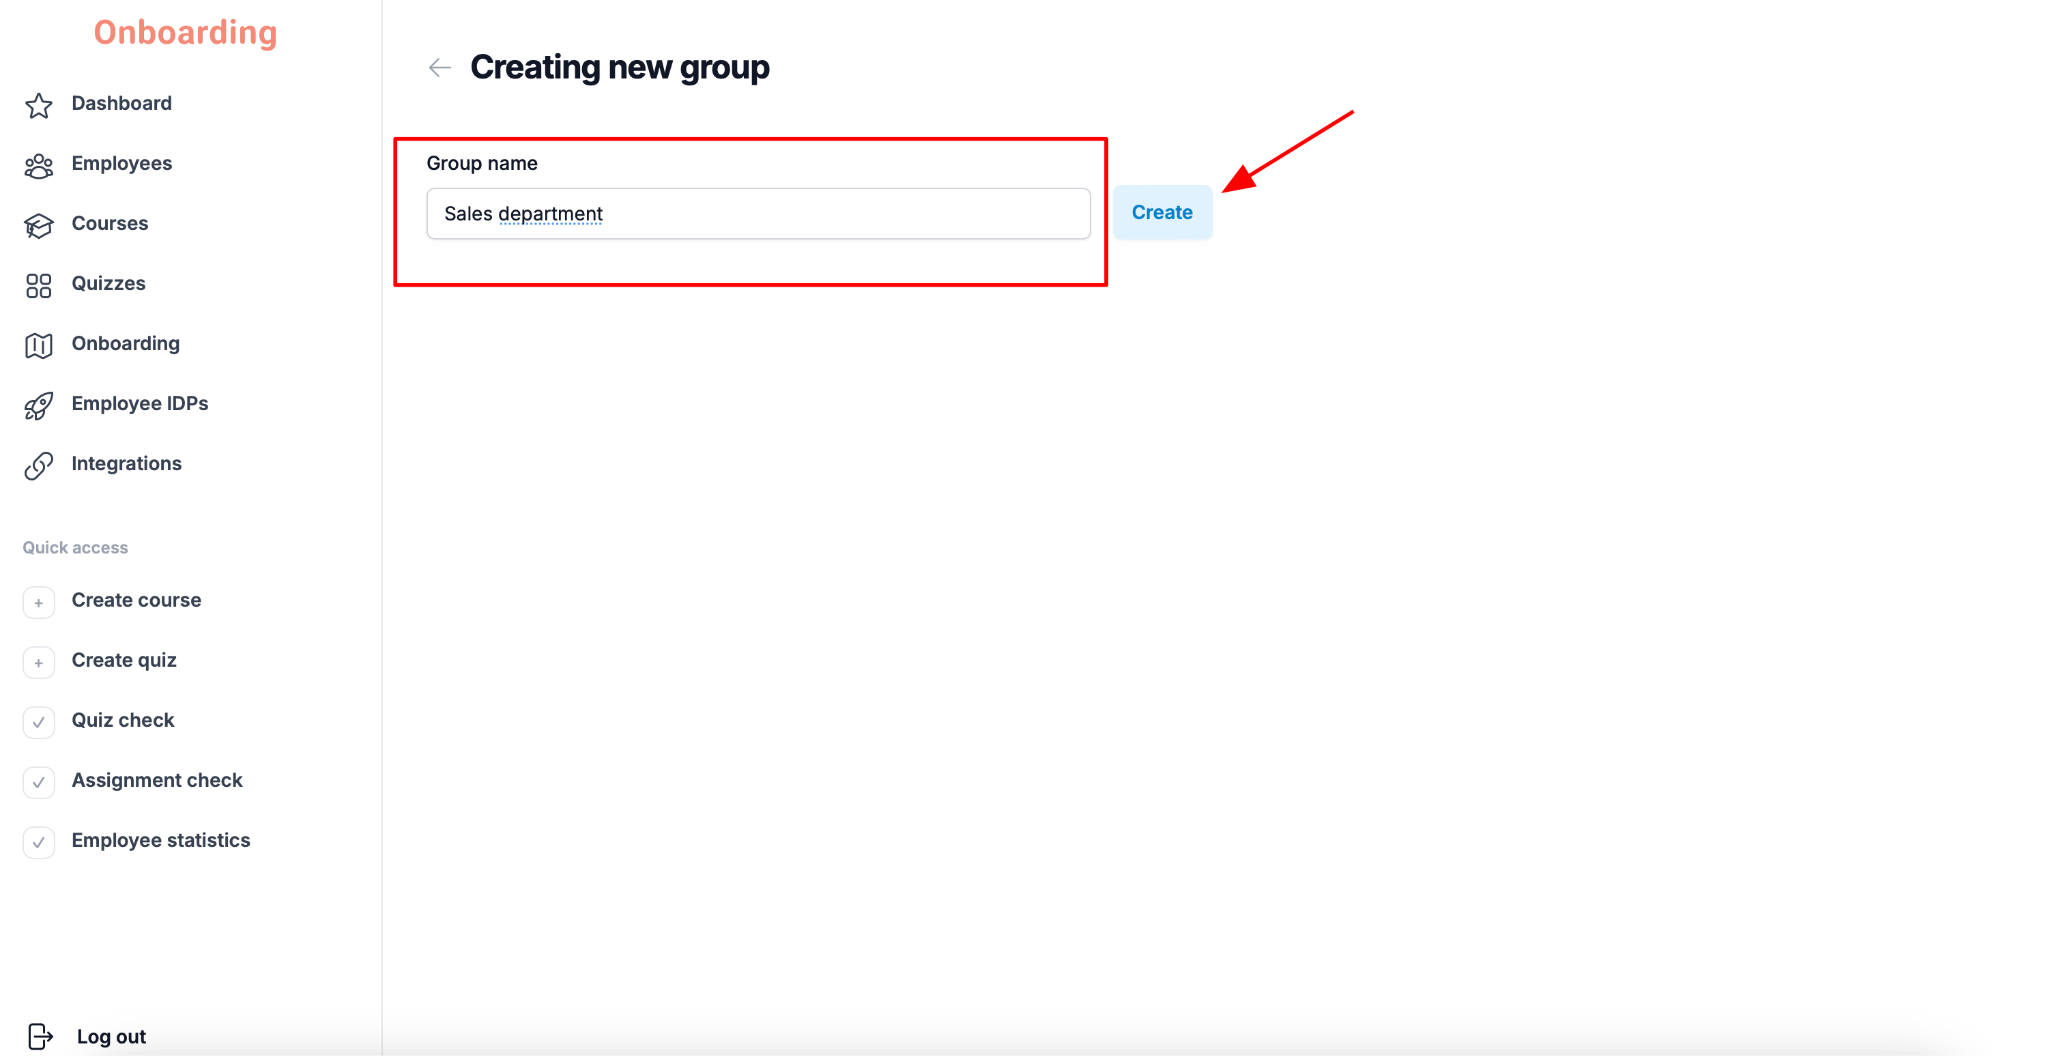
In the window that opens, enter a name for the group — for example, «Sales team», «Servers», «Couriers», or «Cooks». Click «Create».
The new group now appears in the list and is ready to have employees assigned to it 🎉
You can create as many groups as you need. To add another one, repeat the steps above by clicking «Create» in the top-right corner.
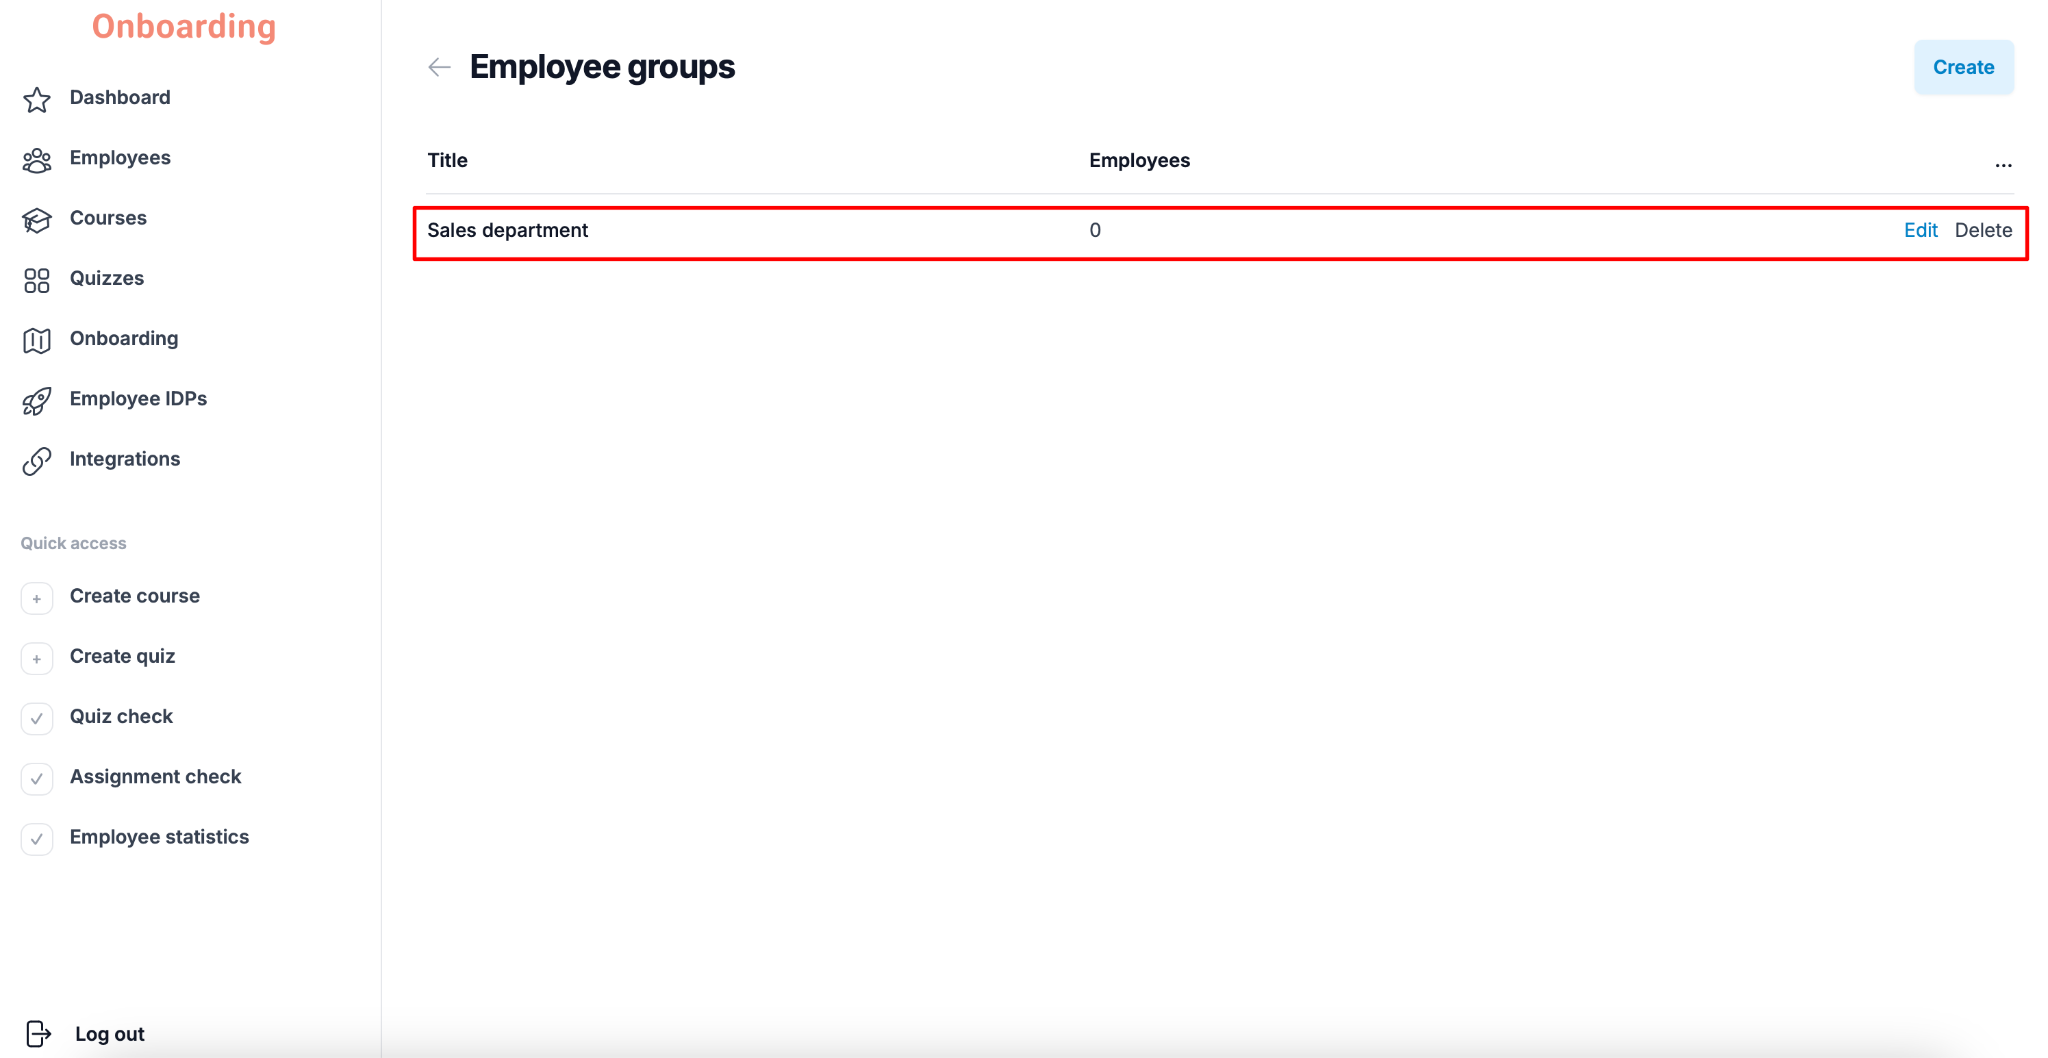
We recommend creating groups that mirror the roles or departments in your company. This will make it easier to assign courses, quizzes, and onboarding tracks later on.
Editing a group
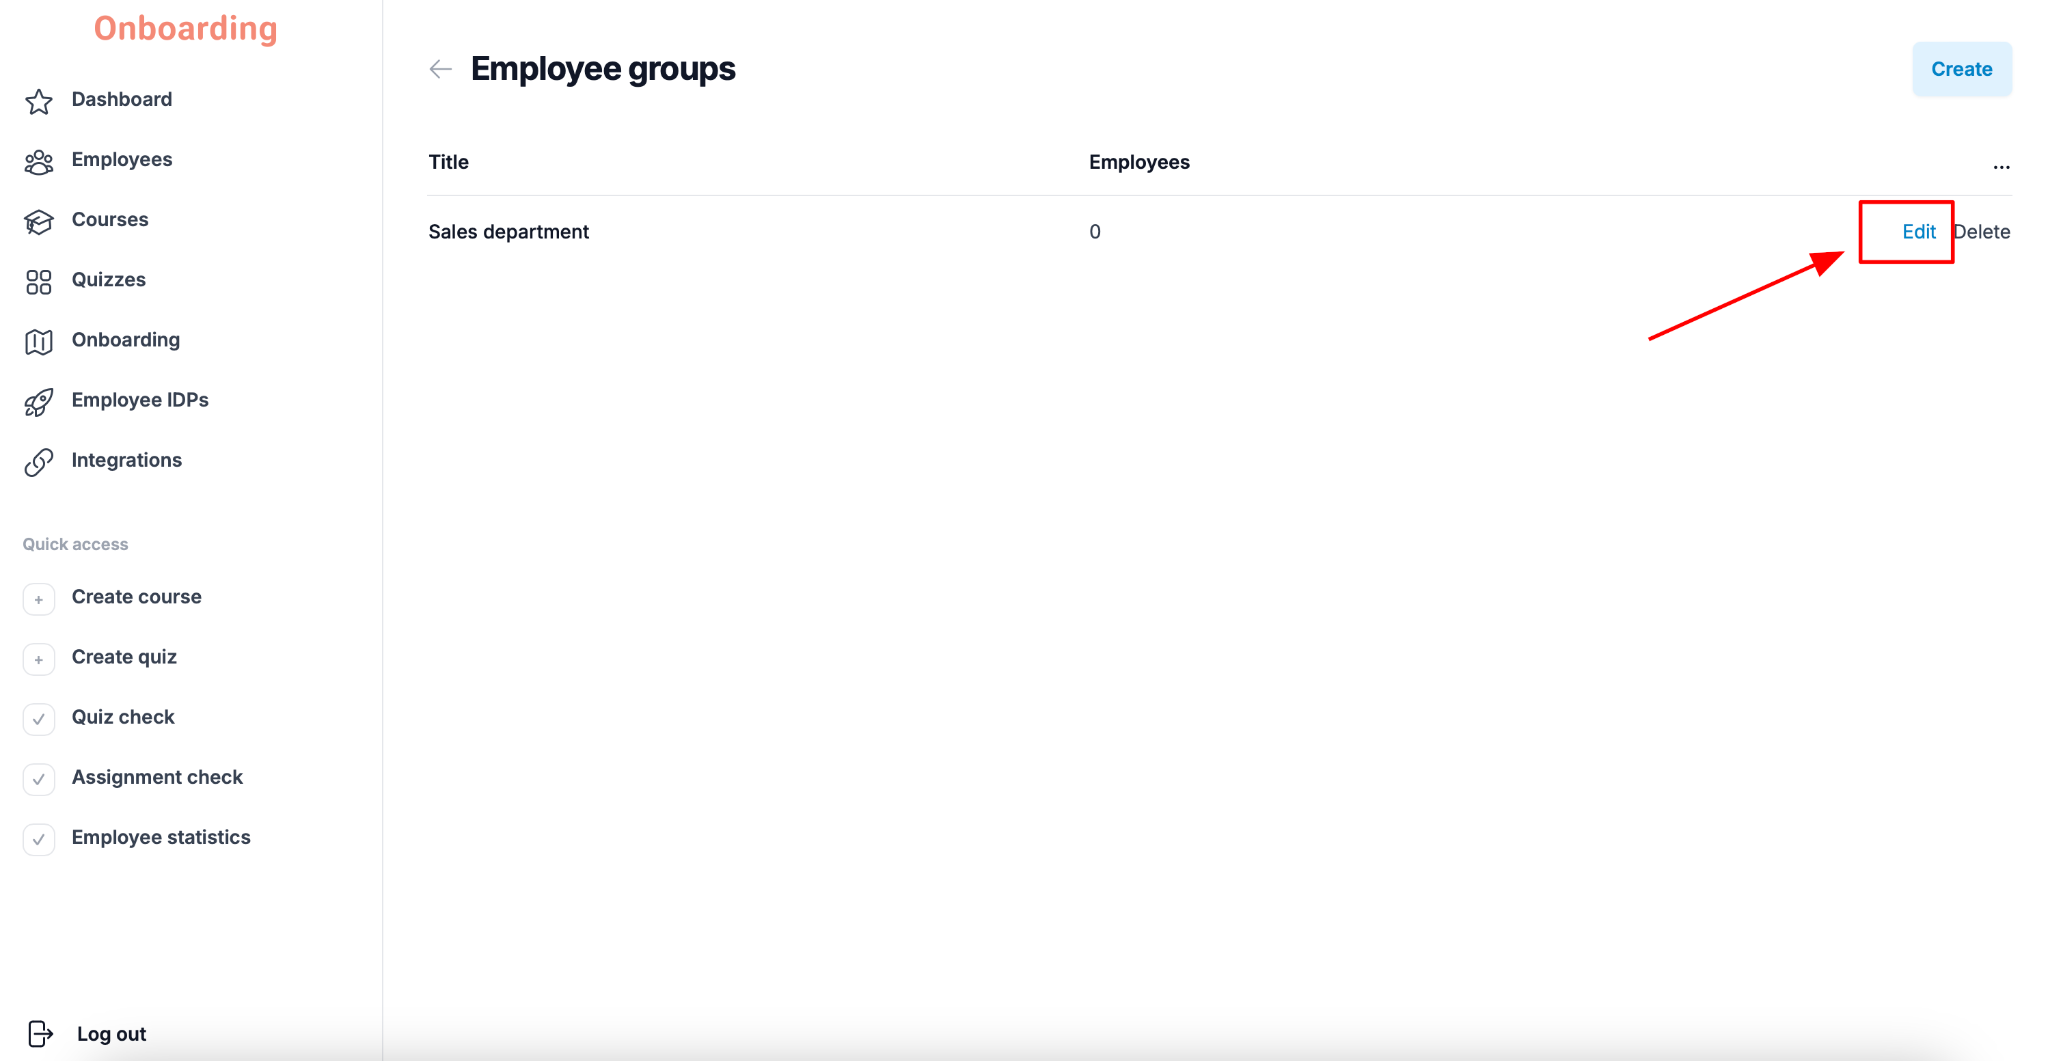
To edit an employee group, open the «Employees» section and click the «Groups» button in the top-right corner.
Find the group in the list and click «Edit» next to its name.
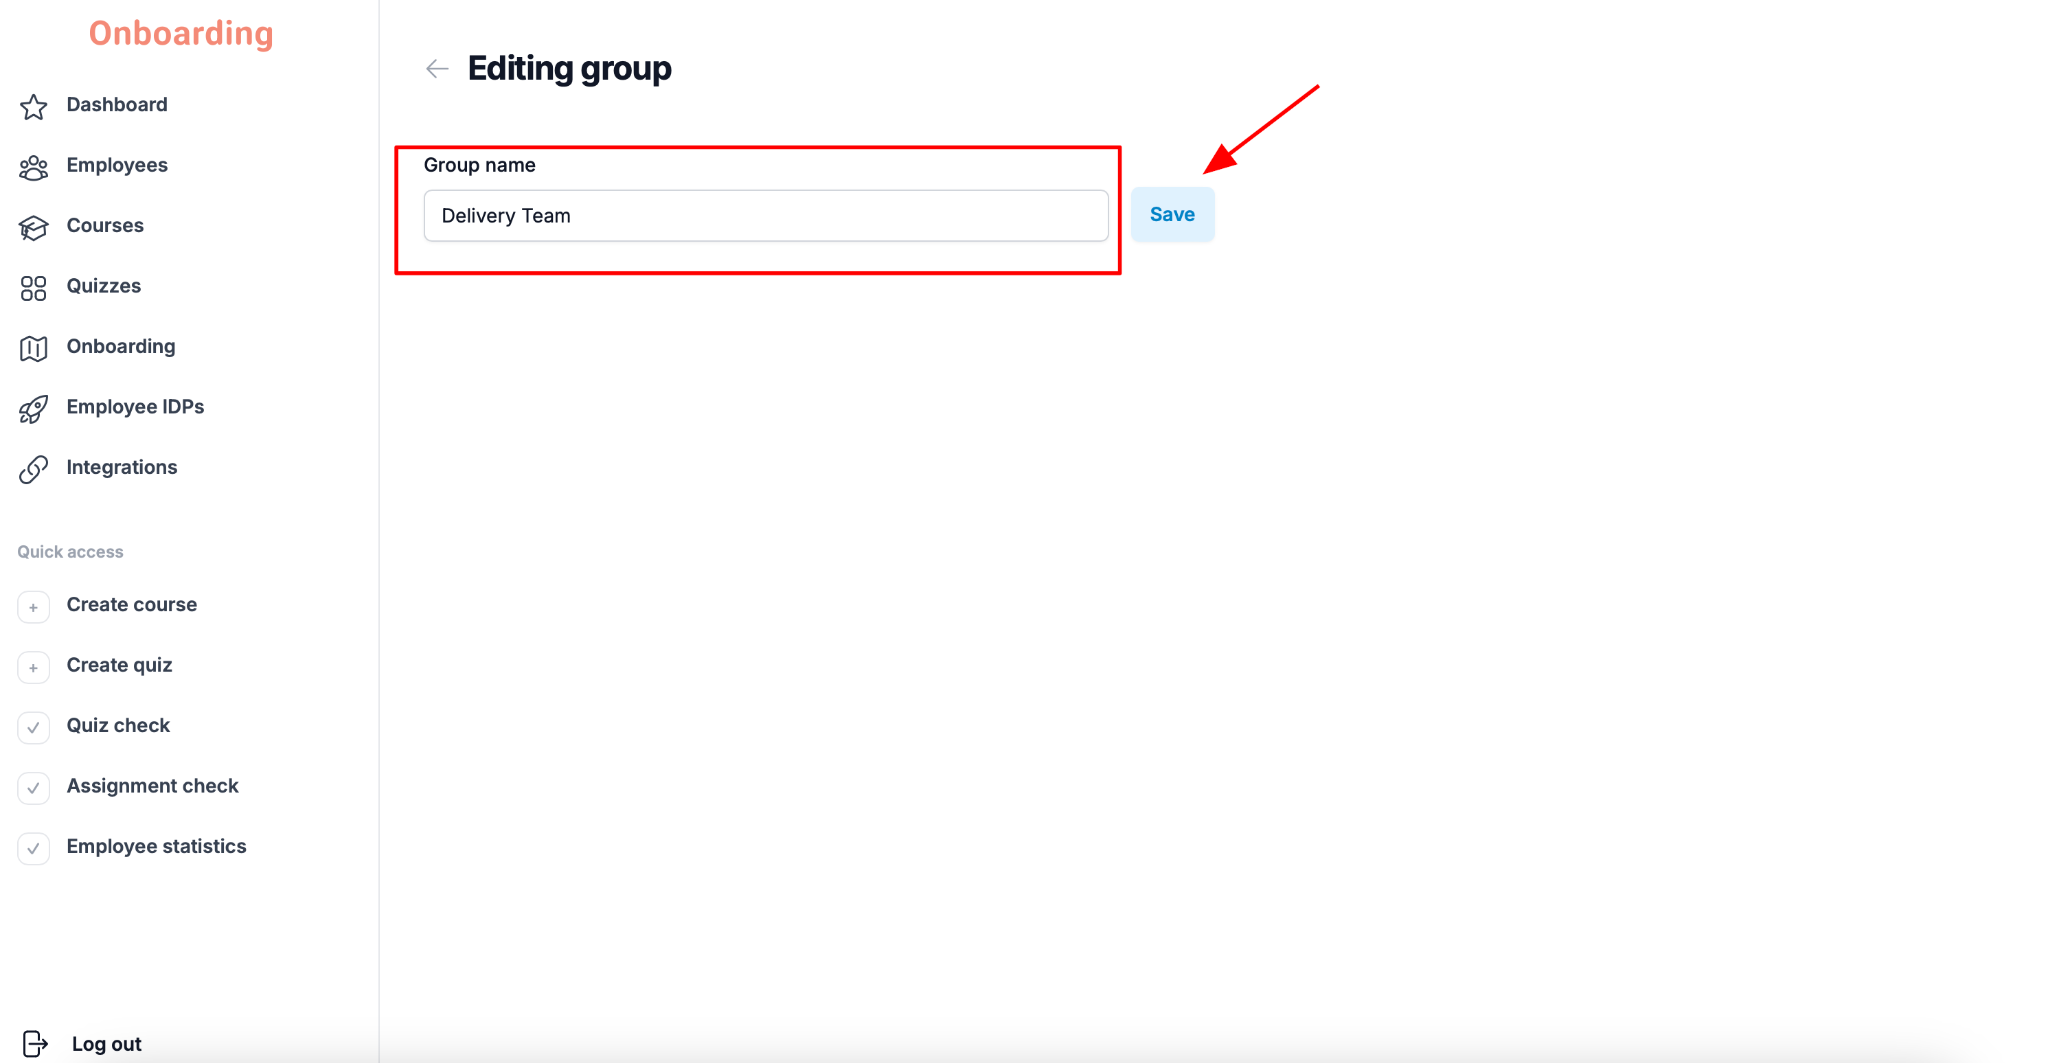
Make your changes and click «Save».
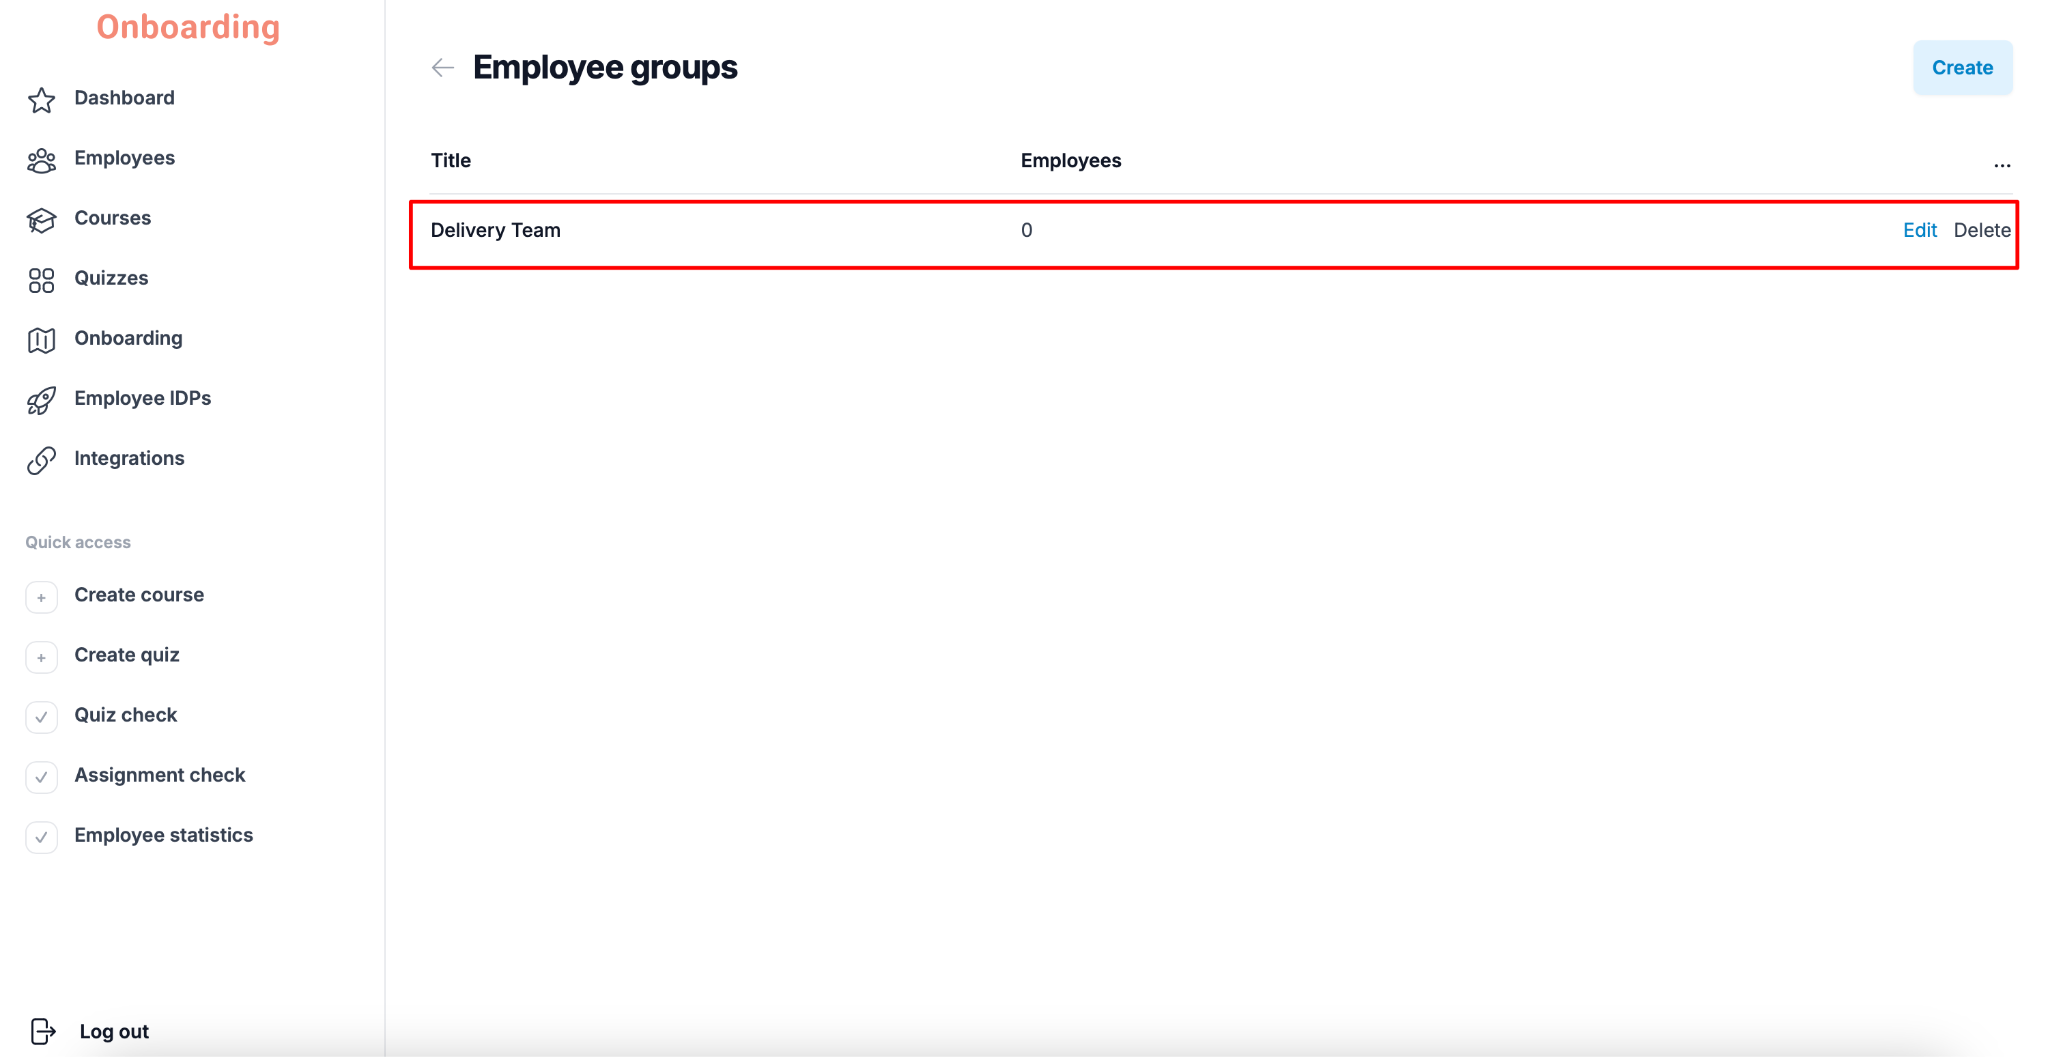
Your changes are saved, and the group now appears under its new name 🎉
Renaming a group doesn't affect the courses, onboarding tracks, or employees already assigned to it. Still, we recommend not renaming groups too often — it can cause confusion when managing training and onboarding.
If your company's structure has changed, it's better to create a new group with an up-to-date name and move employees into it if needed.
Deleting a group
To delete an employee group, open the «Employees» section and click the «Groups» button in the top-right corner.
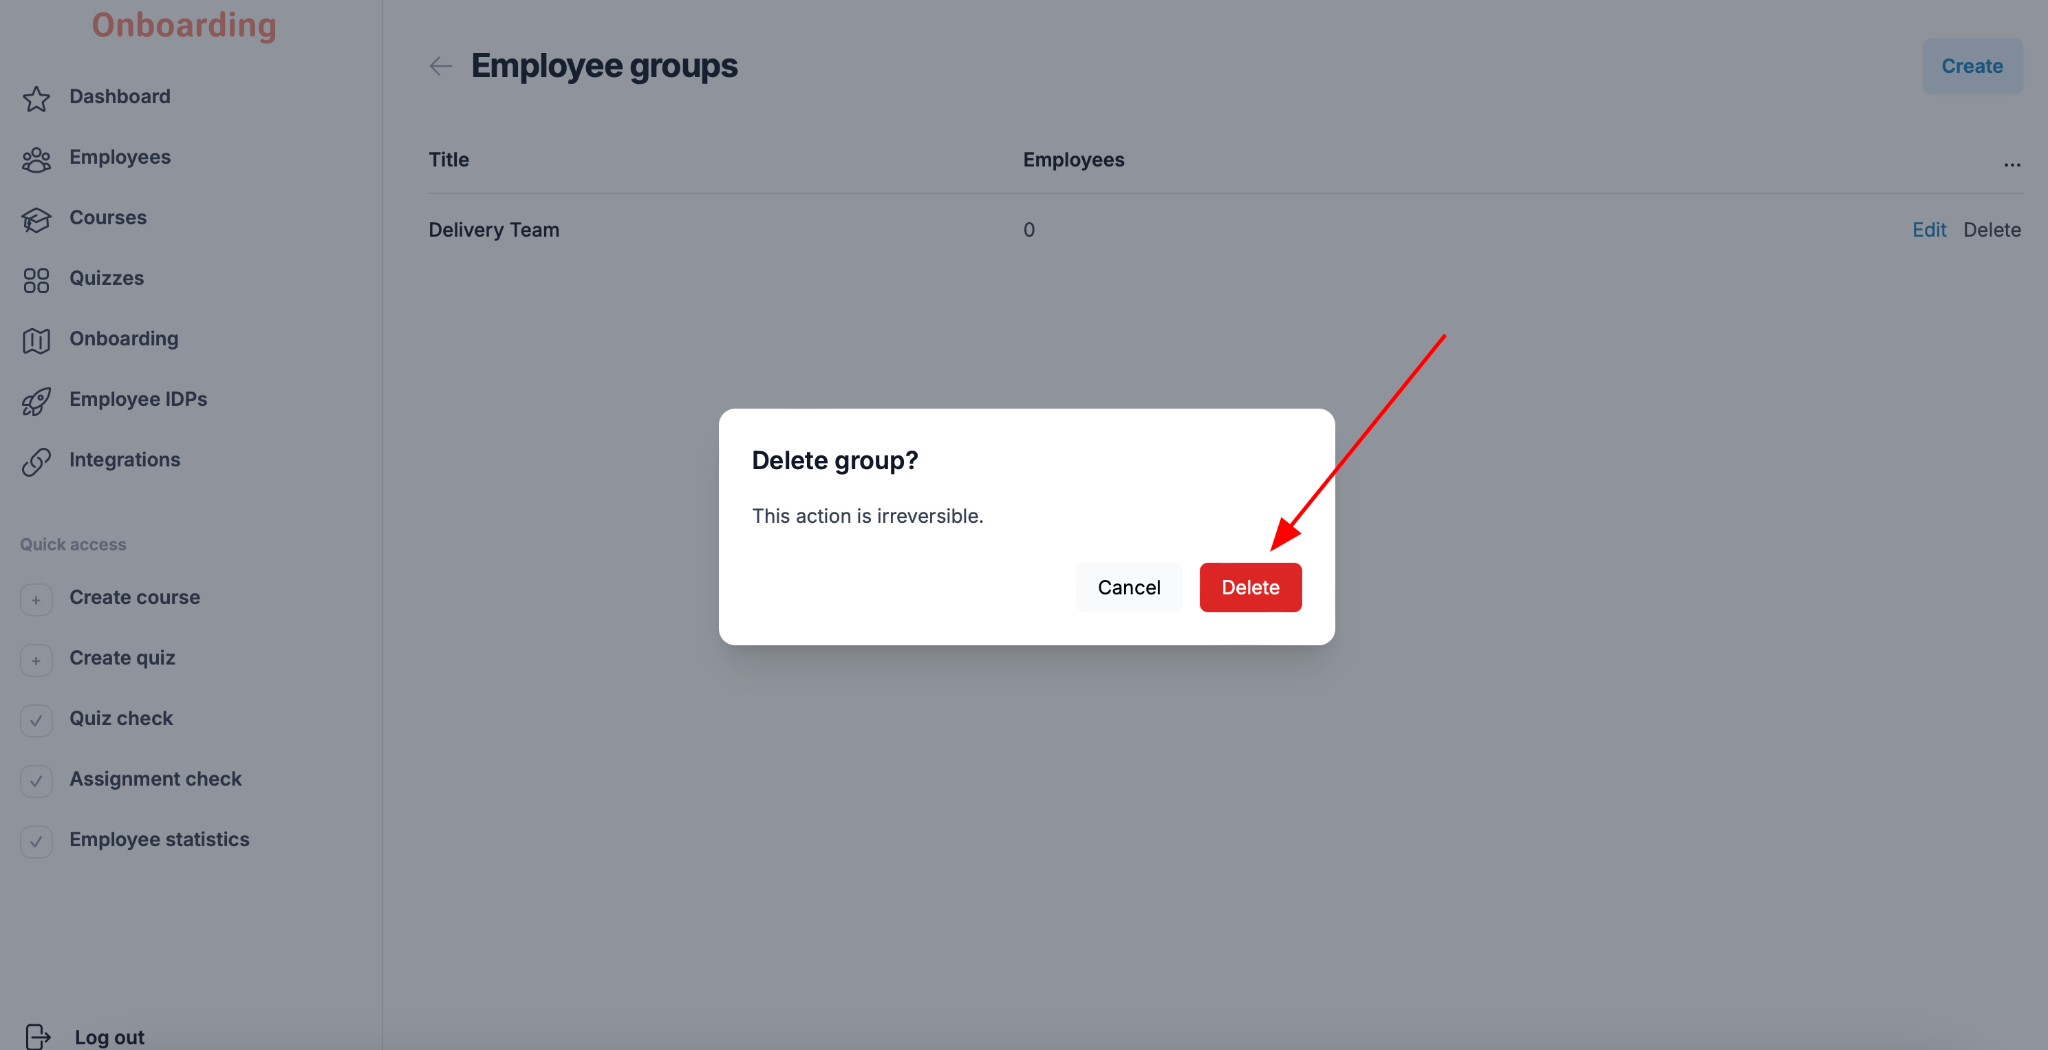
Find the group in the list and click «Delete» next to its name.
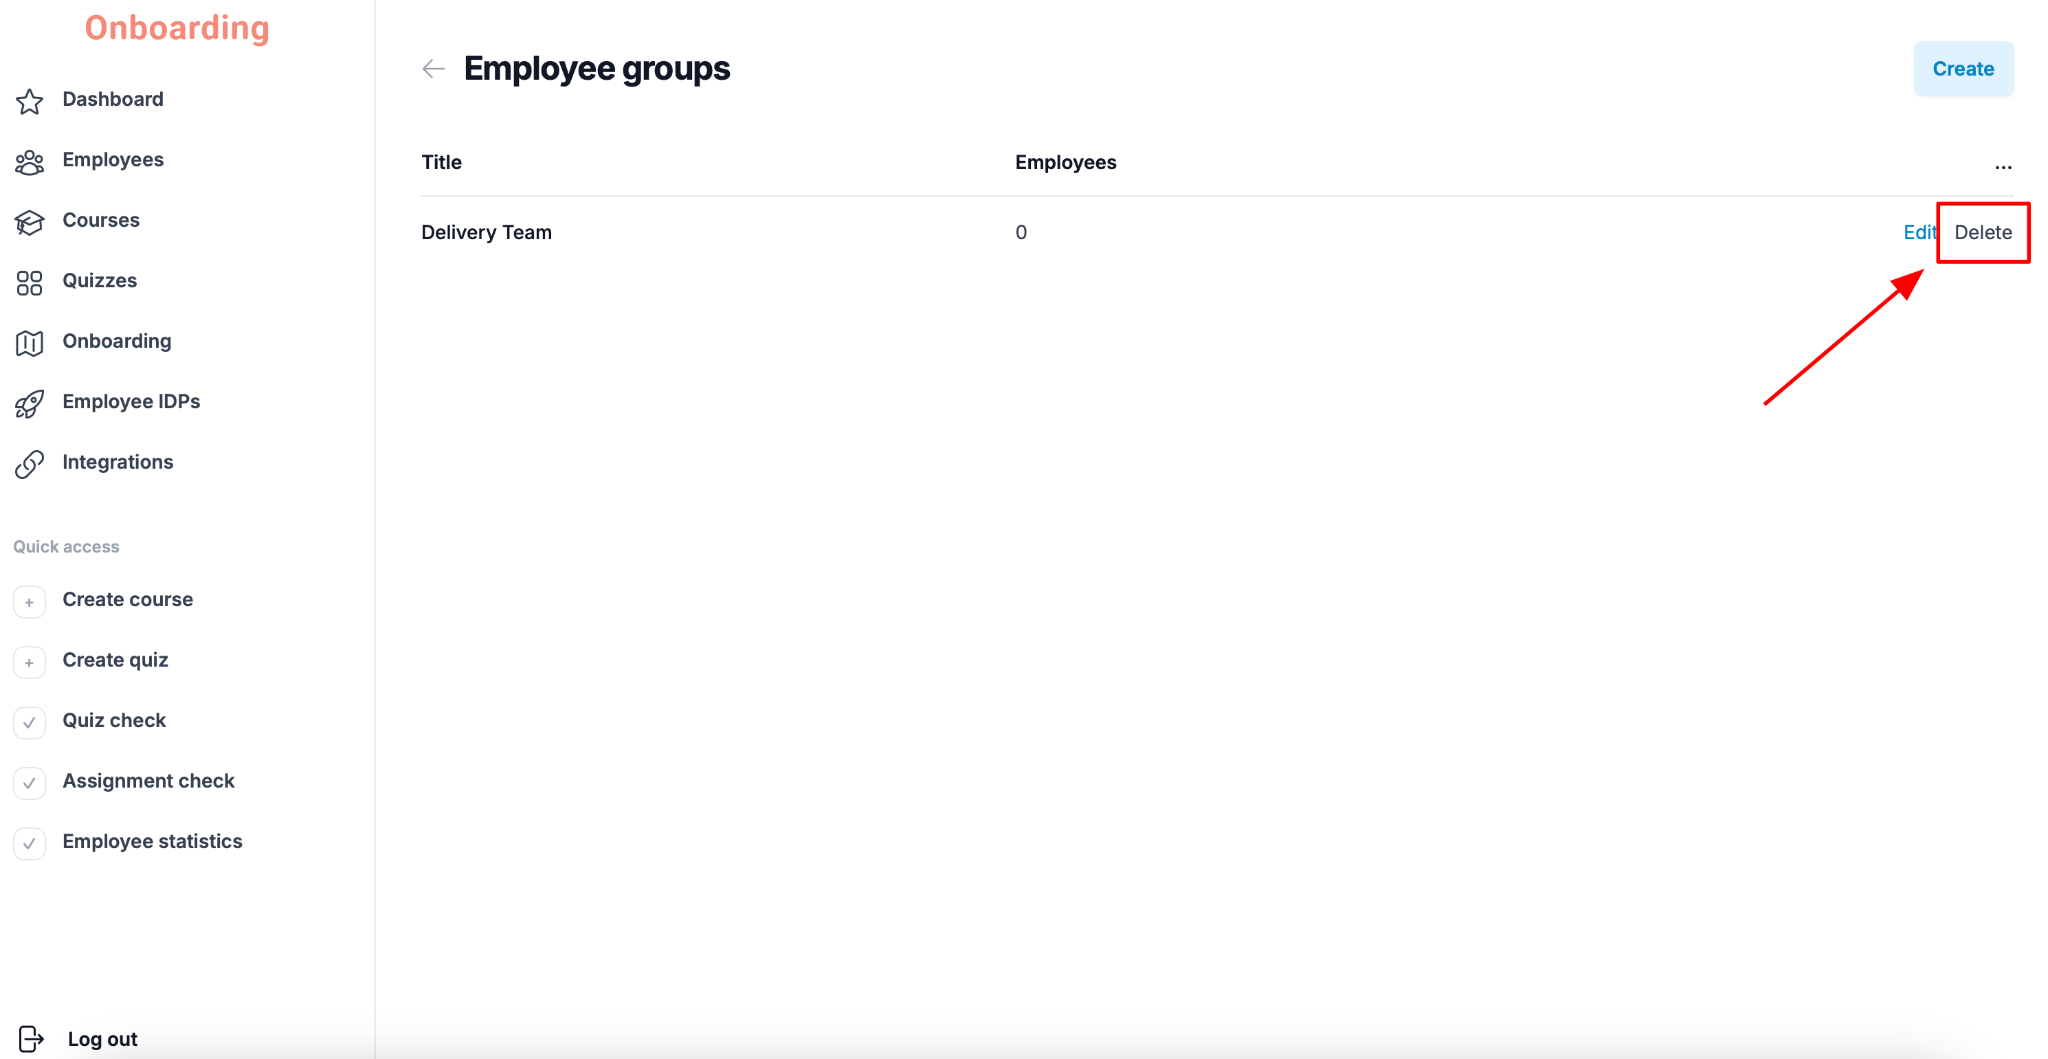
Confirm the action by clicking «Delete» again in the window that appears.
The group has been deleted and no longer appears in the list of groups.
Deleting a group cannot be undone. Once you confirm the deletion, the group cannot be restored.
Deleting a group doesn't affect the employees who were in it. They stay registered on the platform but will no longer belong to any group.
After deleting a group, we recommend reviewing the employee list and assigning those employees to new groups. This keeps courses, onboarding tracks, and other materials correctly distributed according to each employee's role and responsibilities.